Grow Great Hardneck Garlic
at Home
If you’ve only ever cooked with garlic from the supermarket, you’ve likely only experienced softneck garlic. It’s the standard for commercial growers because it’s easy to machine-harvest and boasts a long shelf life. What it offers in convenience, however, it often lacks in character. Hardneck garlic, by contrast, is the choice of chefs, foodies, and serious gardeners for one simple reason: noticeably superior flavor.
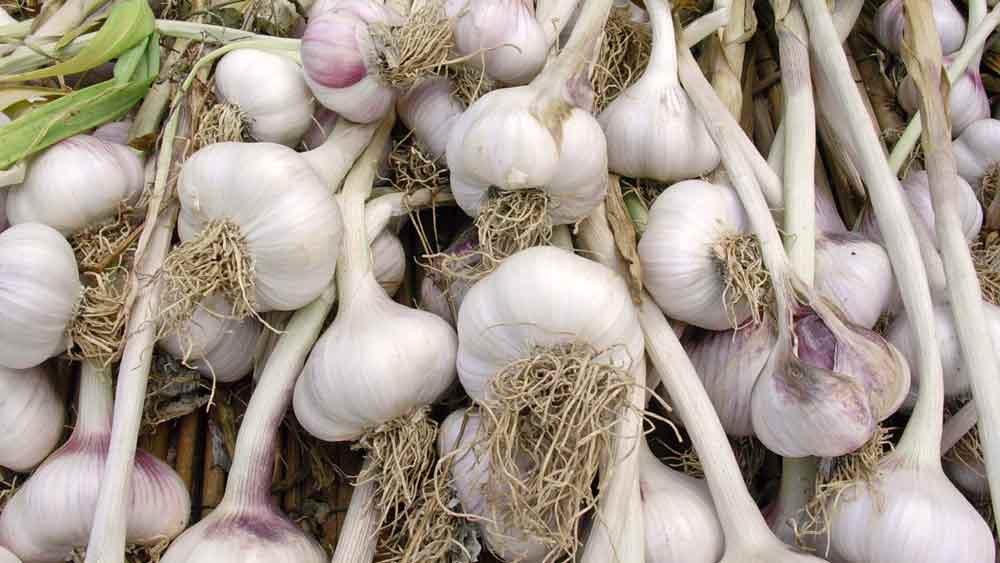
Hardneck varieties are prized for their complex, robust, and sometimes fiery flavors that are lacking in their softneck cousins. They offer a richer, more “true garlic” experience that can elevate a dish from simply good to being remembered and talked about. Beyond their taste, hardnecks distinguish themselves by their structure—they produce a stiff, central flowering stalk called a scape and have large, easy-to-peel cloves arranged in a single layer around that stalk.
Perhaps most rewarding is the yield. The math is simple and satisfying: each clove you plant will become a full head of garlic at harvest time. So, if a single bulb has six cloves, you can expect to harvest six full bulbs in return.
When you grow hardneck garlic, you are choosing a gourmet ingredient that is a world apart from the everyday, with a bounty to match.
The good news is, growing your own hardneck garlic is simpler than you might think. It’s not about a long list of complicated chores. It all comes down to understanding two key moments in the garlic plant’s life: a winter chill to awaken the cloves, and a summer drought to prepare them for storage. Get those two moments right, and you’ll be on your way to a successful and delicious harvest.
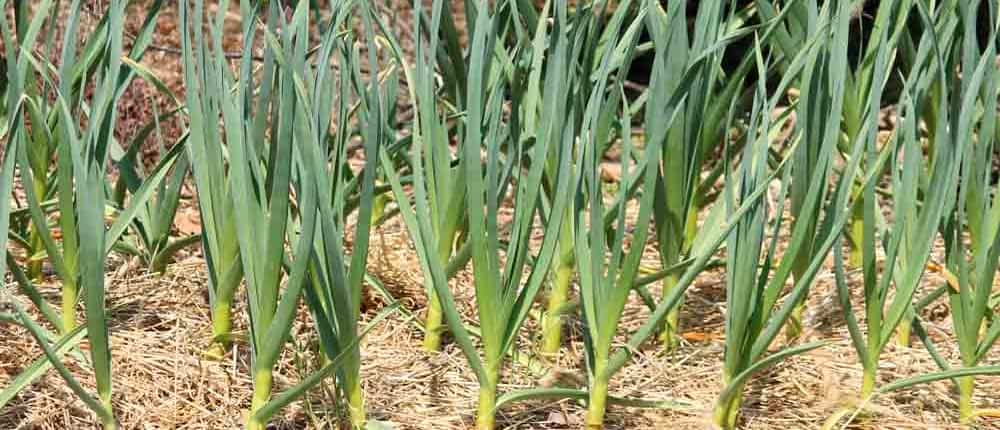
Hardneck Garlic Plants
Planting and Growing Tips:
Let Your Climate Guide You
The key to a great garlic harvest is understanding your specific winter climate and giving your cloves the best possible start.
The Foundation: Sun and Soil
Before you plant a single clove, let’s talk about the foundation. Garlic needs full sun to grow the best bulbs, so choose a spot in your garden that gets sun all day. Because garlic has a very shallow root system, soil fertility is critical for large bulbs and delicious flavor, but this is actually good news for you. It means you can focus your soil preparation efforts on the specific rows or furrows where you’ll be planting, without needing to amend the entire bed. The soil needs to be loose, so the bulbs can grow and expand properly.
Don’t skimp on soil preparation. You can get a great head start by growing a cover crop or by amending your planting rows with a thick layer of compost.
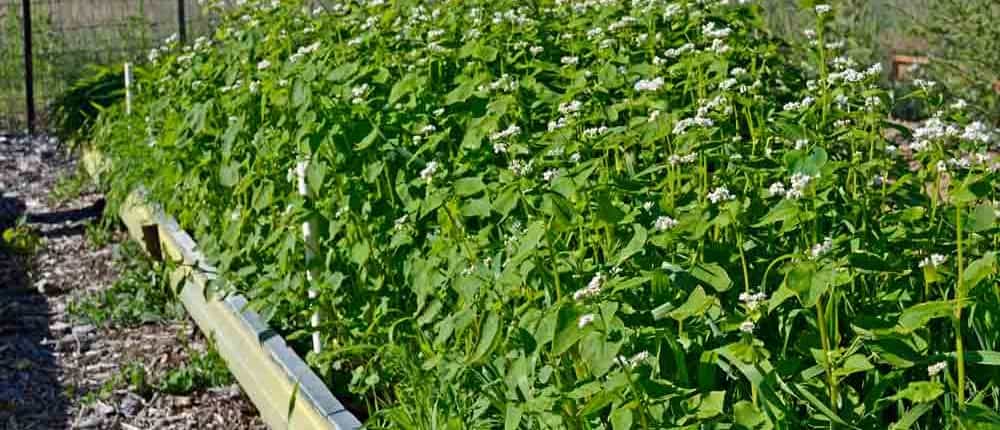
Garden Cover Up Mix
Proactive Approach to Weed Control
Because your garlic will be in the ground for eight to nine months, spanning both cool and warm seasons, managing weeds is especially critical. Uncontrolled weeds can reduce your final harvest by up to 50%. The most effective methods begin a couple of months before you even plant your garlic.
One excellent approach is to use a cover crop mix—like our Garden Cover Up Mix—to choke out weeds while improving soil fertility. Depending on your climate, you can plant it anywhere from 2-3 months to as little as 30-45 days before your garlic goes in the ground. For a quick turnaround, let it grow for about 30 days, then cut it down to create a “green mulch.” Allow the residue to decompose for about two weeks before planting your garlic directly into it. If you have more time, let the cover crop grow until it flowers before cutting it down. The residue will continue to break down and feed your garlic through the season.
Another simple and effective method is the stale seedbed technique. A few weeks before planting, lightly cultivate the top two inches of your soil and water well. After the first flush of weed seeds germinates, simply slice them off with a hoe. By repeating this process a couple of times, you exhaust most of the weed seeds in the top layer of your soil before your garlic is even in the ground. You can read more about this powerful, organic approach in our Stale Seedbed Technique article.
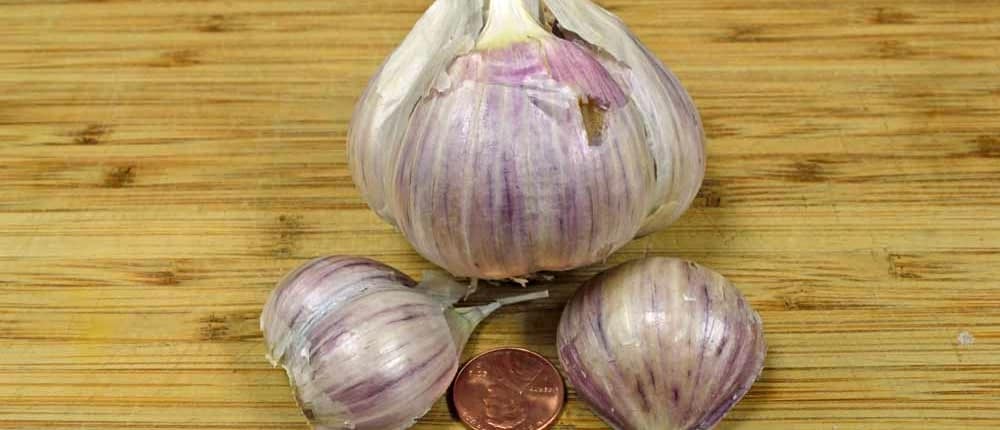
Music Garlic Bulb and Cloves
Preparing and Planting Your Cloves
Just before you’re ready to plant, it’s time to prepare your cloves. You want to avoid separating the bulbs until the last minute to keep the cloves from drying out.
Carefully separate the bulbs into individual cloves. Try to keep the papery skin on each clove intact and, most importantly, make sure the small, hard section at the bottom of the clove—the basal plate—is not damaged, as this is where the roots will grow.
Plant the cloves with the flat basal plate facing down and the pointed tip facing up. Space them about 4 to 8 inches apart to give each plant enough room to mature without competing with its neighbors.
Your Climate-Specific Plan
The needs of a gardener facing hard freezes are different from one who only experiences light frosts. Here’s a breakdown of the best practices for your garden.
For Cool-Winter Gardeners (Hard Freezes)
In colder climates (Zones 2-7), plant your cloves 2 to 4 inches deep. Your primary goal is to plant your garlic in the fall and protect it through the winter. The ideal planting time is about 4-6 weeks before the ground freezes solid, typically in October or November. This gives the cloves enough time to establish a strong root system without putting on significant top growth that could be damaged by the cold.
If you aren’t sure when to expect your first hard freeze, you can use the First and Last Frost Dates tool from the National Gardening Association. Look for the “Fall” chart and find the date in the 50% column for the “First 24°” line. This is your average first hard freeze date. Simply count back 4 to 6 weeks from that date to find your ideal planting window.
Plant your cloves 2-3 inches deep and cover the bed with a thick, 4-6 inch layer of mulch, such as straw or shredded leaves. This “winter blanket” is the most critical step for success in a cool climate. It insulates the cloves from the freeze-thaw cycles that can heave them out of the ground and provides a protective barrier against the harshest temperatures.
For Warm-Winter Gardeners (Light Frosts)
It is a persistent – but incorrect – myth that you cannot grow exceptional hardneck garlic in the South. You absolutely can. In milder climates (Zones 8-10), plant your cloves about 1 inch deep. The secret to success in these zones is a process called vernalization, which is simply a required period of cold that triggers the garlic to form a bulb. If your winter doesn’t provide this chill naturally, you can easily simulate it.
Place your seed garlic in the refrigerator for at least 40 to 50 days prior to planting. This “artificial winter” provides the necessary chill. Your ideal planting time will be in the late fall, from October to December. This allows the vernalized cloves to establish themselves during the coolest part of your year and be ready for vigorous spring growth.
A Note on Watering
Your garlic will need consistent moisture throughout the growing season. A good rule of thumb is to water whenever the soil surface becomes dry. In cool-winter gardens, your plants won’t need much, if any, water during the dormant winter months. In warm-winter gardens, a light watering a couple of times a month is usually sufficient.
As the season progresses and the weather warms, remember that garlic prefers drier conditions as it matures. You’ll want to water less frequently as you approach the summer harvest. This helps improve the bulb’s flavor and prepares it for the crucial “dry down” period before you lift it from the soil.
Fresh Garlic Scapes
The Gardener’s Bonus:
Your Two Harvests
Growing hardneck garlic provides two distinct and delicious harvests from a single planting.
The First Harvest (Scapes)
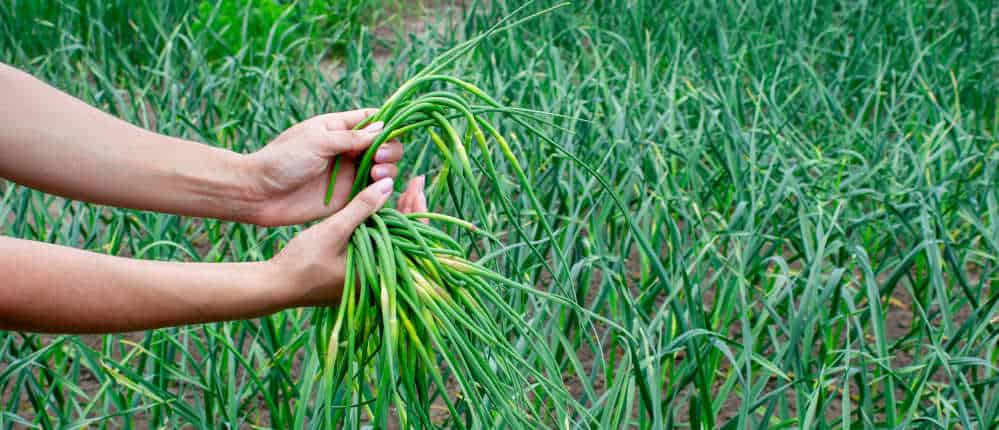
In late spring or early summer, your garlic plants will send up a curling, green flowering stalk called a scape. Removing this scape is your first opportunity to harvest, as it encourages the plant to direct all of its energy into bulb formation. These tender scapes are a true gourmet delicacy with a mild, fresh garlic flavor, perfect for making a vibrant pesto, grilling, or chopping into stir-fries and egg dishes.
The Main Harvest (Bulbs)
Your main harvest arrives in mid-to-late summer. The key to knowing when is the right time is to watch the leaves. Each green leaf on the plant represents one protective papery wrapper around the bulb, and the goal is to harvest while there are still about six green leaves remaining. This ensures the bulb has enough protective wrappers to store well.
As the plants mature and the topmost leaves start to dry out, you should reduce watering to help the bulbs mature and begin their “dry-down” process.
When you see an average of six green leaves left on each plant, it’s time to harvest. For the best flavor and quality, plan to harvest in the cool of the morning or late afternoon. To protect your crop, it’s important to move the bulbs into a shady, well-ventilated area immediately after lifting them from the soil. Carefully lift the bulbs with a garden fork, taking care not to bruise them.
Curing Hardneck Garlic
Curing and Storing
for Months of Flavor
You can quickly lose a successful harvest if you overlook this final step. Curing is more than just drying the bulbs; it is an active, essential process that transforms a fresh bulb into a long-storing pantry staple.
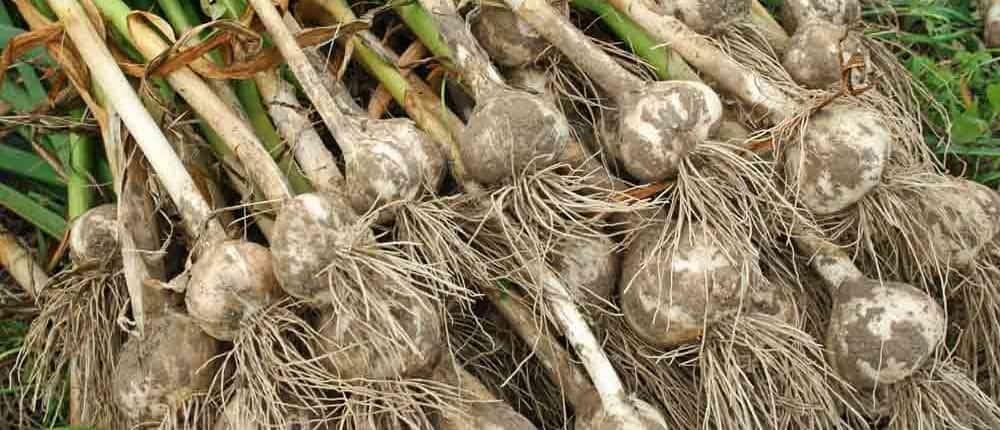
For the best results, garlic needs to cure in a consistent environment without large temperature and humidity fluctuations. Once harvested, move the entire plant—stalks, leaves, and all—to a warm, dry, and well-ventilated area away from direct sunlight, such as a covered porch or a garage. Spread the plants out on a screen or hang them in bundles. Depending on your conditions, curing can take anywhere from two to four weeks, but the wait is well worth it.
You’ll know the garlic is fully cured when the outer wrappers are papery and the necks are completely dry. Once the curing is finished, you can trim the tops and roots to prepare the bulbs for storage. The one exception is if you are gardening in a very humid climate; in that case, it’s best to trim the roots immediately after harvest to prevent mold and ensure the tops are drying down properly.
A properly cured hardneck garlic will reward you with exceptional flavor for several months, depending on the variety.
Ingredients for homemade pesto
Your Invitation
to the World of Gourmet Garlic
Growing your own hardneck garlic is a deeply rewarding experience. By understanding and managing two key moments—the “winter chill” that awakens the cloves and the “summer drought” that prepares them for storage—you can unlock a world of flavor that is simply not available at the grocery store. It is an invitation to move beyond the ordinary and cultivate something truly exceptional in your own garden.
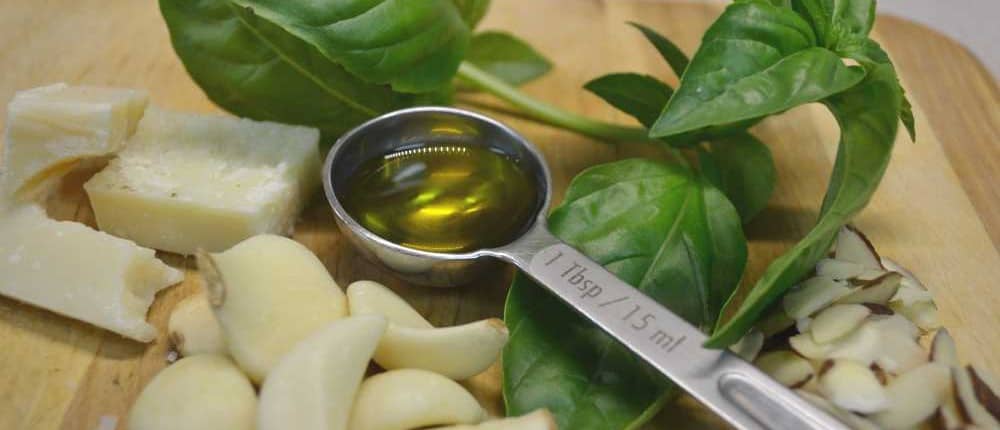
This is your chance to bring the complex and robust flavors valued by innovative chefs directly into your own kitchen. You’ll be able to enjoy your harvest in countless ways, from using it raw in a fresh pesto to fermenting it in chile pastes, or adding its rich character to soups, stews, stir-fries, and pan-roasted vegetables.

