Korean Pickled Garlic
Or Maneul Jangajji in Korean
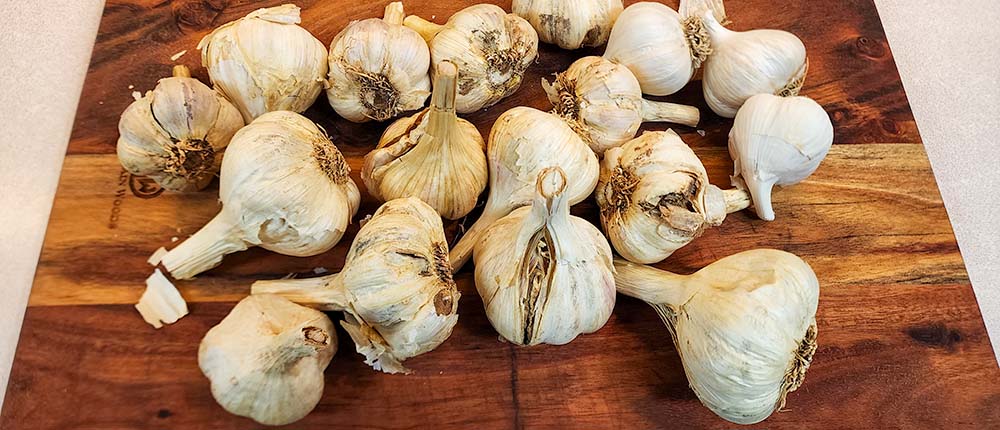
Hardneck garlic ready for peeling.
We came across this Korean pickled garlic recipe a couple of years ago when we had a few pounds of hardneck garlic left over from our September garlic sale. Each head had one or more damaged cloves so that we couldn’t sell them. However, the rest of the cloves were fine, and we didn’t want to waste almost five pounds of hand-grown hardneck garlic!
Our first batch consisted of two half-gallon canning jars of pickled garlic. After two months of aging in the second soy-based brine, the garlic was mellow and tangy, with a sweet undertone and flavor.
Since then, we have eagerly anticipated our annual garlic sale, which provides us with the fresh ingredients needed to make a new batch of Korean pickled garlic. We only make a couple of quart jars each year because we had to get creative, using up a gallon of pickled garlic during the first year!
Tangy-sweet pickled garlic is an incredibly popular side dish in Korea. Whole cloves are sliced and served alongside small bowls of salty, sweet, tangy, and crunchy vegetables that are often fermented or pickled.
We love them thinly sliced on crackers or pita chips, as they lack the bite of fresh garlic. Pickling makes them both tangy and slightly sweet, making them addictive as a savory snack.
They are often used as a secret ingredient in soups, stews, or almost any dish where a pop of umami or savory flavor helps the flavors shine. The soy brine makes a great dipping sauce and is fantastic as a supporting ingredient in Thai curries, to flavor steamed rice, or to add a dimension of flavor to lentils.
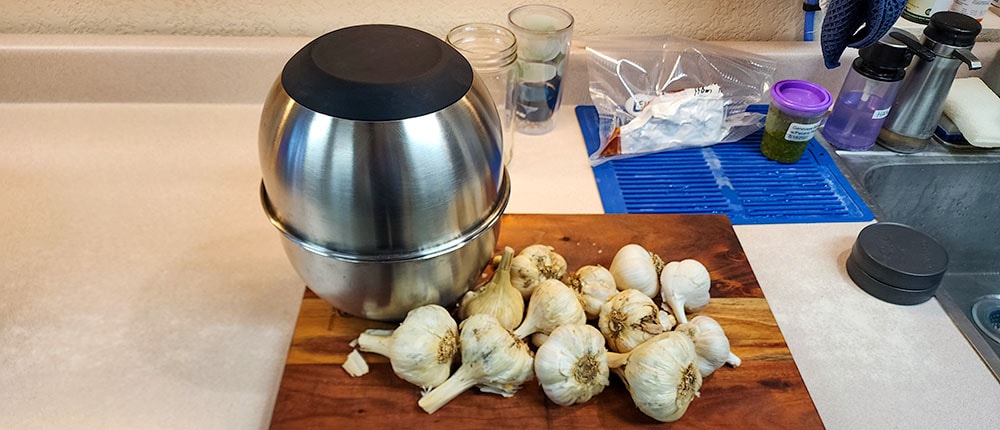
Garlic ready to peel with bowl shaking method.
Peeling the Garlic
The Bowl Shaking Method
Peeling a few garlic cloves by hand is okay, but it becomes tiring when you have to peel ten or more heads in a short time. A friend showed us the bowl-shaking method, which makes it easy to peel multiple heads of garlic in less than a minute.
Here’s how it works:
- Get two bowls of similar size that you can fit rim to rim, as shown in the photo above.
- Peel the outer layers of paper off the garlic heads, then break them into cloves.
- Put all of the cloves into one of the bowls.
- Turn the second bowl upside down and place it over the first bowl.
- Hold the two bowls together and shake vigorously for about ten seconds.
- Open the bowls, and you’re almost done!
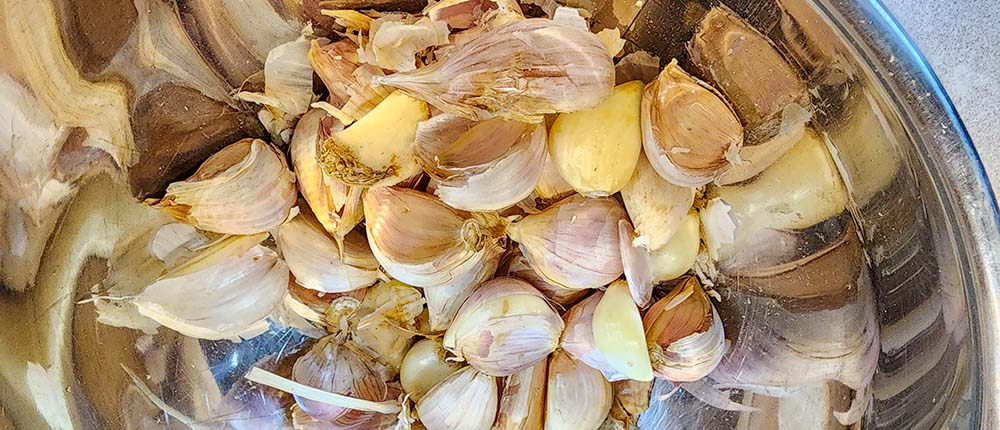
Midway through bowl shaking method of peeling garlic.
When you peek inside, you’ll see something like the above photo – several cloves are completely peeled, some are partially peeled, and some still have skins on.
Remove the peeled cloves. Then, you should be able to rub the skins off of the partially peeled cloves easily. Next, feel the remaining cloves. Sometimes, you’ll need to do a second shake; sometimes, the skin will feel loose and quickly come off with a gentle rub.
The complete time it took to break the dozen heads up and peel them for this recipe was under two minutes!
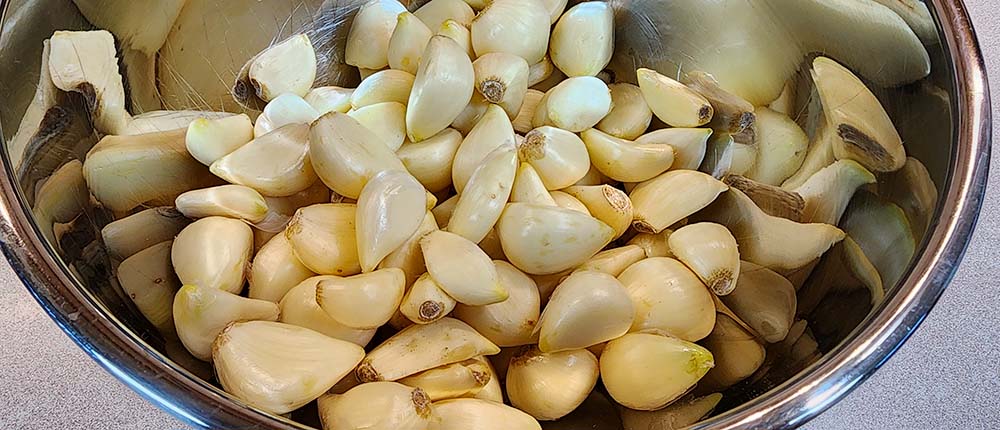
Peeled garlic, ready for trimming.
Now you’ll have a bowl full of peeled garlic, ready for trimming off the tips and any bad spots, without your hands hurting or smelling like garlic for the next couple of days.
First Brining
Vinegar and salt
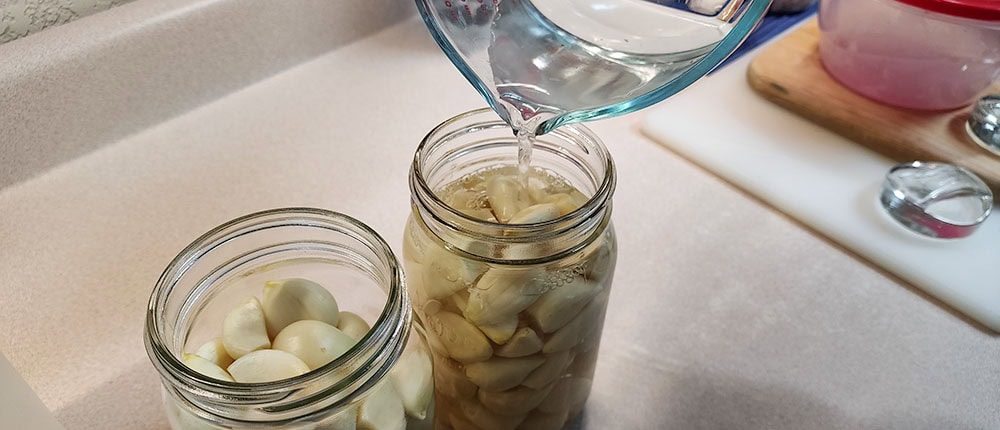
Adding vinegar and salt brine for Korean pickled garlic.
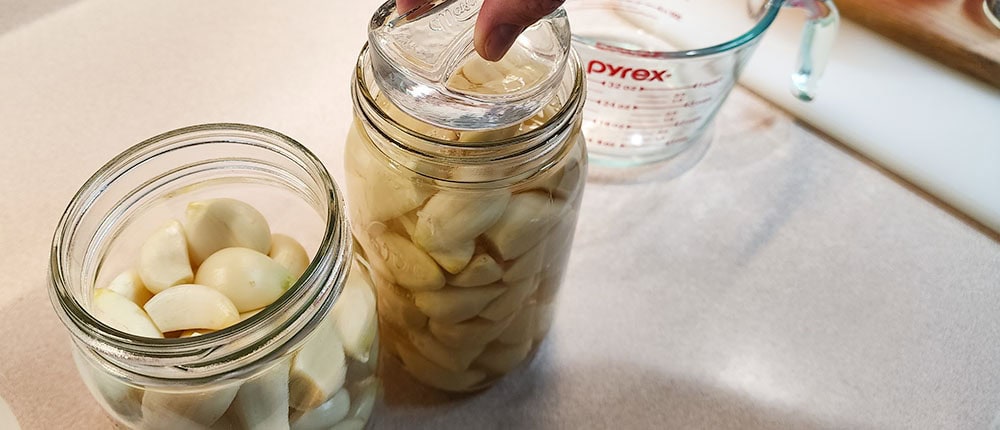
Adding glass weight to vinegar-brined garlic.
The special thing about this pickled garlic is its two-step approach. The first brine consists of vinegar and salt, which reduces the strong taste of garlic to a milder, more approachable flavor. The second brine, which is soy-based, completes the pickling process, adding rich, deep flavors that go well with a variety of foods.
Think of this approach as similar to “quick pickling” or “refrigerator pickling.” It isn’t canning, and the pickled garlic must be stored in the refrigerator after it is done.
The garlic must be kept submerged in the brine during both stages, and a glass pickling weight works well, as it isn’t porous and won’t retain flavors or odors. We use MasonTops for the weights and screw top lids.
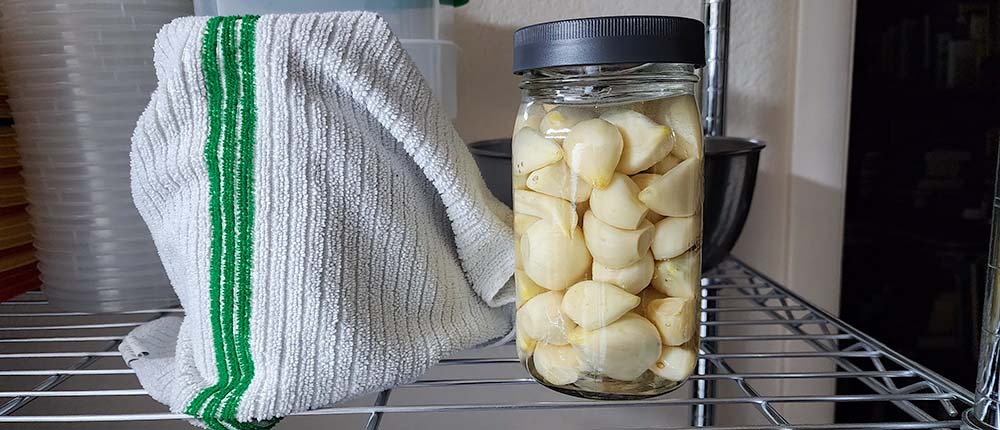
First brining with vinegar and salt, wrapped to keep the light out.
In the first brine stage, keeping the garlic and pickle solution away from light is important. We wrap the jars in a thick bar towel, but any light-proof cloth will do. The timing of the two brine stages isn’t critical as long as the first stage lasts at least ten days or longer. This gives the brine enough time to mellow the garlic’s heat and prepare it for the second stage.
Korean pickled garlic after first brining and one month wait.
After the first brine, you might notice that the garlic has a slight green or blue tinge.
This is normal, as the color change is due to garlic’s natural sulfur content and an enzyme that can react with a slight trace of copper in the water or the cooking utensils.
This color change may or may not occur, depending on various factors, including the variety of garlic and the growing conditions.
A slight color change won’t affect the quality or taste of your garlic.
These tips help reduce the chance of discoloration:
- Avoid exposure to sunlight. Keep the pickling jar covered with a light-proof cloth or towel.
- Use non-iodized salt, such as kosher or sea salt.
- Use stainless steel or silicone utensils to reduce color changes.
Second Brining
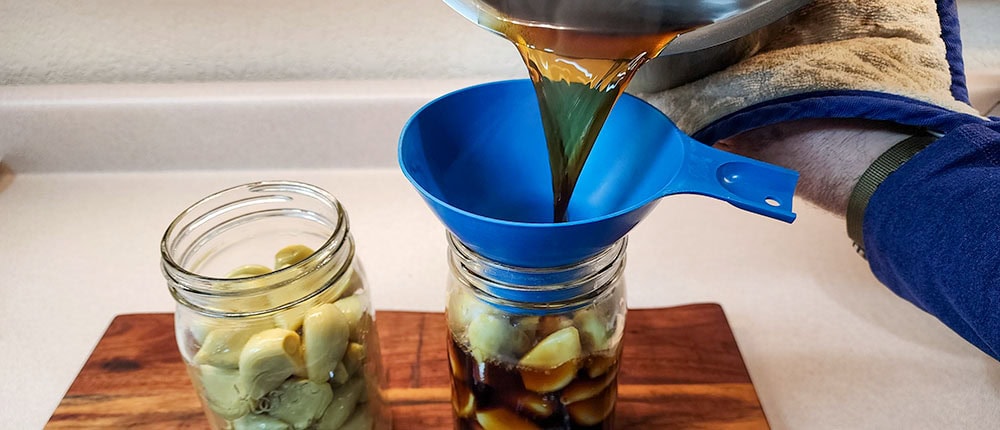
Adding hot soy brine for Korean pickled garlic.
After waiting a month since the initial brining, we poured out the vinegar and salt solution, brought the soy brine to a gentle boil, and poured it into the jars, ensuring to keep the garlic submerged with the glass weights.
Please be careful when handling the hot brine; it is just off the boil and still very hot.
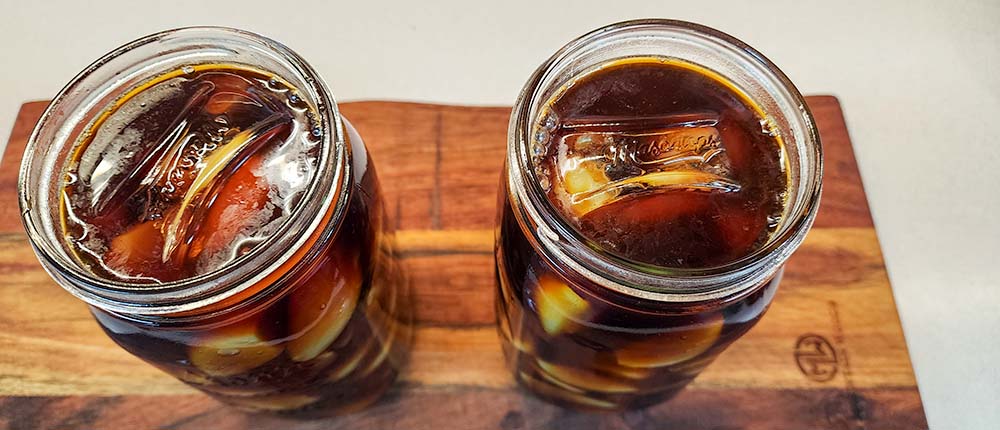
Glass weights on soy-brined garlic.
After preparing the soy brine and placing the weights on, we tightly screwed the lids on the jars and put them into the fridge to age for at least two months before eating. This time allows the flavors to mingle and deepen, resulting in a much richer taste than you might expect from the initial sharpness of the garlic flavor.
You don’t need to cover the jars in the fridge because it is dark inside when the door is closed.
Remember to do a taste test at two months to see how the flavors suit your preferences. Initially, we added more sugar than the recipe called for, but we later discovered that the extra sweetness was unnecessary as the garlic aged. We reduced the sugar slightly below the suggested amount for the next batch and found it perfect for our preferences.
When we finished using the last of our first batch, it was just over a year old, with no spoilage or loss of flavor. Several Korean chefs recommend using the pickled garlic within six months to a year, so that’s our goal.
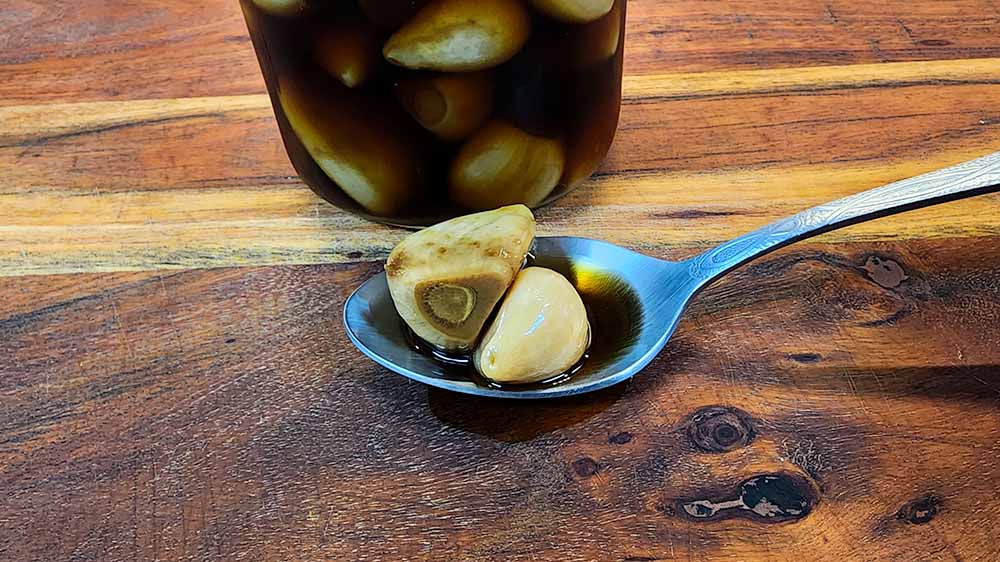
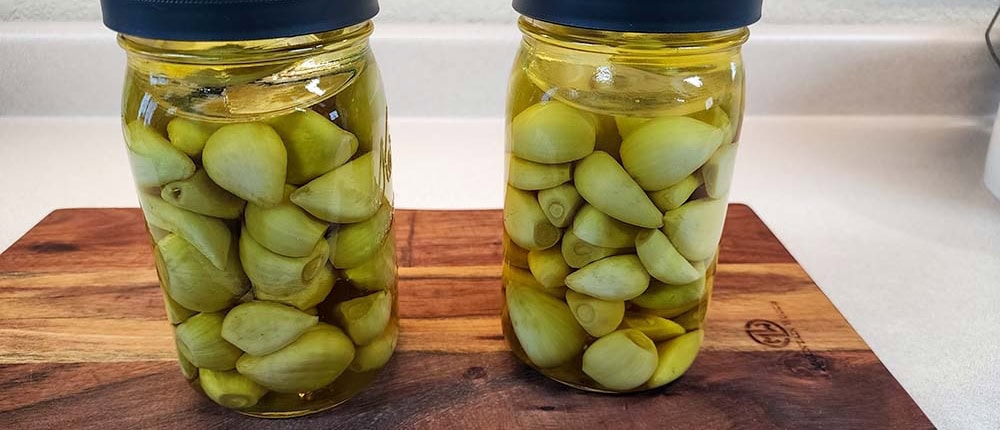
Korean pickled garlic finished and ready to eat.
This Korean pickled garlic recipe uses a two-step method to reduce the garlic's pungency while imparting a mellow, slightly sweet flavor with an addictively delicious tang.
- 1 Lb Fresh garlic
- 1 Cup Vinegar White or rice vinegar adds little to no flavor
- 1 Tbs Sea salt or Kosher salt Must be non-iodized salt to avoid unpleasant flavors
- 1 Cup Water
- 2/3 Cup soy sauce
- 3 Tbs Sugar Use more for sweeter pickles
- 1 Cup Water
- 1/3 Cup Vinegar
The first step is to separate the heads into cloves. Peel the outermost layers off the heads and break the cloves into individual pieces. Then, peel the garlic cloves. The photos above show you how to do this quickly.
Cut the tips of the cloves where they were attached to the head, remove any bad spots, rinse well, and add to the jar, making sure to shake the jar well to settle the cloves, adding more cloves as needed to fill the jar up to the top of the shoulder.
Stir the vinegar brine ingredients together until the salt has dissolved. Pour over the garlic cloves, making sure to cover the garlic fully. Add the glass weight to keep the garlic submerged, screw the lid on and wrap the jar well with a towel to keep any light out.
Let sit at room temperature for at least 10 days or longer. Letting the first pickling process go longer gives you a more mellow flavor. We usually let the first step pickle for a month.
After the first pickling time is finished, bring the soy sauce, sugar, and water to a gentle boil for one to two minutes. Drain the vinegar brine from the jars, then pour the hot soy sauce brine over the garlic cloves. Fill the jar and use the glass weight to submerge the cloves in the soy sauce brine.
Cap the jars again, wrap the towel to keep any light out, and let stand at room temperature for three to four weeks. Unwrap and put into the refrigerator.
You can eat the garlic at this point, but it will continue to mellow and age, gaining depth of flavor as time goes on.
The garlic will easily keep in your fridge for six months or longer. We've had year-old pickled garlic that was amazing, as the flavor had deepened and become richer over time.

