Milkweed Seed Germination
Your Guide to Answering the Monarch’s Call
Chances are, you’re here because you’ve heard the story. You’ve learned about the incredible journey of the Monarch butterfly and the challenges it faces, and you’ve asked yourself a simple, powerful question: “How can I help?”
The answer is simpler than you might think, but there’s a persistent myth in the gardening world that growing milkweed from seed is difficult—that it requires obscure techniques or specialized equipment. We’re here to tell you that’s simply not true.
The truth is much more like a fairytale. A milkweed seed is a masterpiece of patience, locked in a deep, dormant sleep by nature’s own design. Unlike a tomato or a bean seed that’s ready to jump to life with just a little water, a milkweed seed is unique; it needs a clear, gentle signal that winter is over before it will awaken. Your role as the gardener isn’t that of a scientist in a lab; it’s simply to provide that “wake-up call.”
This guide is our way of sharing the simple, proven methods to do just that. We’ll demystify the process and give you the confidence to become a vital part of the solution, right in your own backyard.
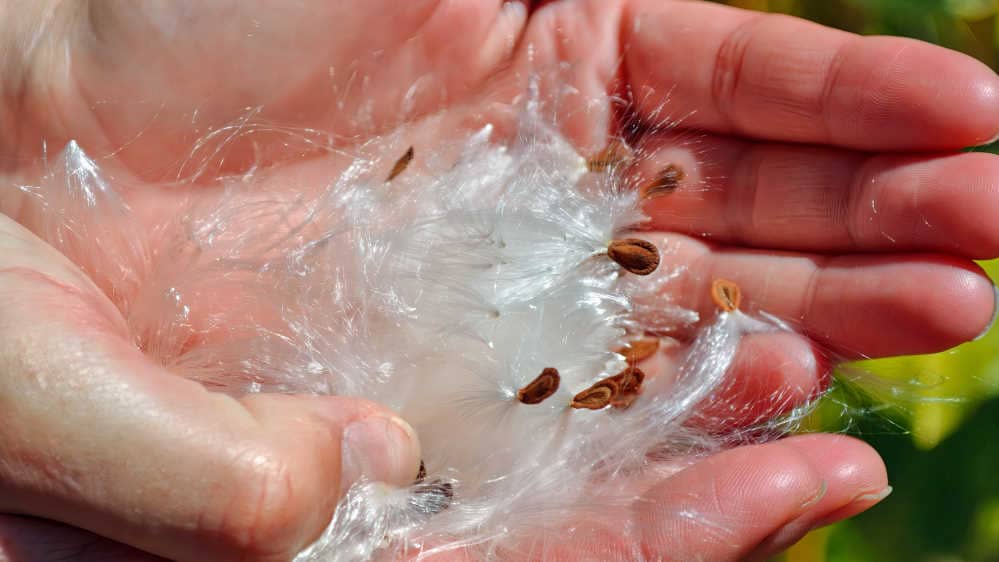
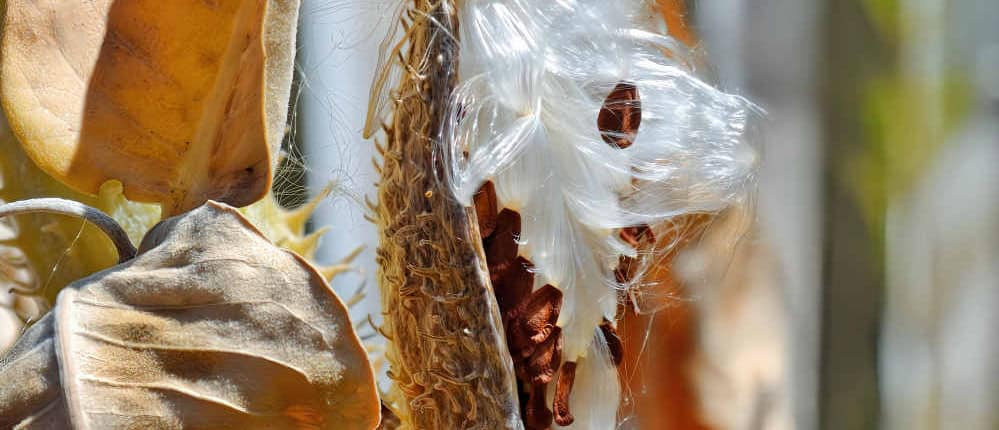
Milkweed pod with seeds and floss
To understand how to give a milkweed seed its wake-up call, it helps to first understand why it’s asleep. To prevent it from sprouting too early in the fall, nature equips it with a built-in safety mechanism. A growth-inhibiting hormone called Abscisic Acid (ABA) keeps the seed dormant or asleep until winter has passed and a full growing season is approaching. When milkweed seeds mature, they enter a state known as physiological dormancy, an internal, biochemical lock that differs significantly from the more common physical dormancy, where an impermeable seed coat simply blocks water. If a milkweed seed were to germinate in the fall shortly after ripening, the young, tender seedling would inevitably perish during the first hard freeze. To prevent this, the seed enters a state of suspended animation, essentially ignoring favorable conditions like warmth and moisture until it receives a clear signal that winter is actually over.
The signal it needs is a prolonged period of cold, moist conditions to wake up the seed and begin germination. This process, called cold stratification, breaks down the ABA and allows a growth-promoting hormone, Gibberellin, to take over and signal that it’s time to sprout, just like a natural winter. Cold stratifying milkweed seeds simply simulates the winter’s chill and gives the seed the “wake-up call” it needs. Milkweed seed dormancy is not a simple, static condition, but a fluid biochemical state. With stratification, we aren’t merely tricking the seed; we are actively manipulating its internal chemistry to favor awakening.
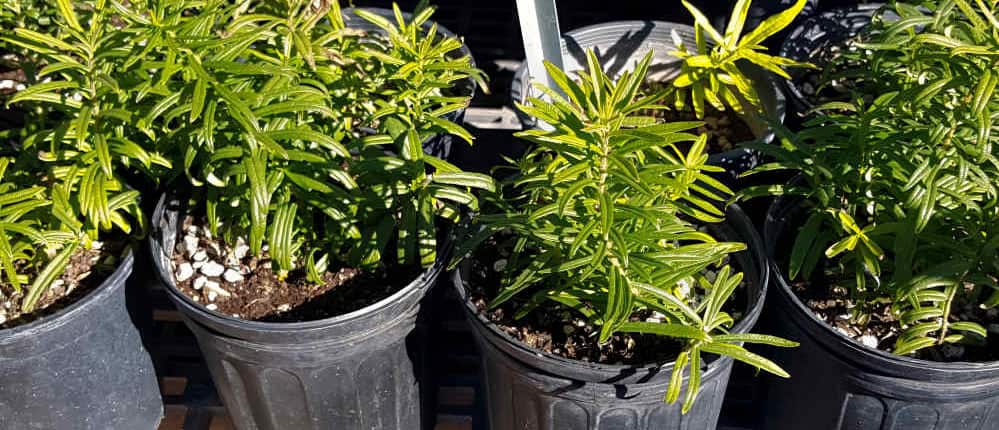
Butterfly milkweed seedlings in containers
Your Toolkit
Two Approaches to Success
There are two excellent ways to successfully germinate your milkweed seeds. We’ll explore the controlled indoor method and the natural outdoor method, both proven to be easy and maximize success for the home gardener.
The First Approach
Starting Seeds Indoors
Starting seeds indoors gives you the most control over the process. There are two great ways to do this. We’ll start with the simplest method we’ve found, and then offer an alternative for those who want to take a more technical approach.
Cold Moist Stratification (CMS) is the horticultural practice of subjecting seeds to a period of cold and moist conditions to simulate the natural experience of winter. For milkweed seeds, this is the most common and reliable method for breaking physiological dormancy. The ideal conditions for this process are a temperature range of 34°F to 40°F—consistent with the temperature in a standard refrigerator—and a consistently moist (but not waterlogged) environment. The moisture allows the seed to become fully hydrated, which starts its metabolic activity. The prolonged cold then triggers the crucial hormonal shift, degrading the germination inhibitor ABA and making the seed’s embryo progressively more sensitive to germination promoters like gibberellins. This process releases the “brake” (ABA), allowing the “accelerator” (GA) that is already present to finally engage.
- A) The Easiest, Most Accessible Method (The Sandwich Bag Method)
This simple and effective technique comes to us from the experts at Arizona Milkweed for Monarchs. It’s our go-to recommendation for its simplicity and excellent results.
- Prepare Your Bag: Start with a simple sandwich-sized Ziploc bag. Use a permanent marker to label it with the milkweed species and the date you are starting stratification.
- Add Sand: Fill the bag about halfway with clean sand.
- Moisten: Add water until the sand is visibly very moist but not waterlogged. You should not have a pool of water at the bottom of the bag. The ideal consistency is that of a “damp sponge” from which no excess water can be wrung out.
- Add Seeds: Add your packet of milkweed seeds to the moist sand and gently knead the bag to distribute them. Press out most of the air and seal the bag.
- Refrigerate: Place the bag on the top shelf of your refrigerator (which is often the coldest) and leave it for at least 30 days. It is crucial to place the seeds in a refrigerator, not a freezer, as freezing can damage or kill the emerging seeds.
- Maintain: Once a day, simply move the bag around. This small but important step helps aerate the sand and prevent mold from forming. If you see tiny white roots emerging, you should plant the seeds immediately.
- B) The Propagator’s Method (The Sterile Media Method)
For gardeners who want to maximize aeration or who have struggled with mold in the past, using a sterile growing medium is a great alternative. A 50/50 mix of vermiculite and perlite is ideal. Simply moisten the mix, combine it with your seeds in a labeled Ziploc bag, and follow the same refrigeration process as above.
- C) A Note on Using Paper Towels
You might see instructions online to stratify milkweed seeds in a moist paper towel. We strongly advise against this method. The paper towel compacts easily, creating a perfect environment for mold. Even worse, the delicate new roots of the seedlings can grow into the paper fibers, and you can’t remove them without damaging them. Paper towel germination works well for larger vegetable seeds, but not for delicate milkweed.
The Second Approach
Direct Sowing Outdoors
This is the simplest method of all: let nature do the work. Simply plant your seeds in a prepared garden bed in the late fall or early winter, about a quarter-inch deep. The natural freeze-thaw cycles of winter will provide the cold stratification period for you.
- Pros: This method is the easiest and often produces the hardiest, most resilient seedlings.
- Cons: Your success rate may be lower. Some seeds will inevitably be lost to hungry birds, mice, and squirrels, or wash away in heavy rains.
To improve the success of direct sowing, gardeners can employ several strategies to protect their investment:
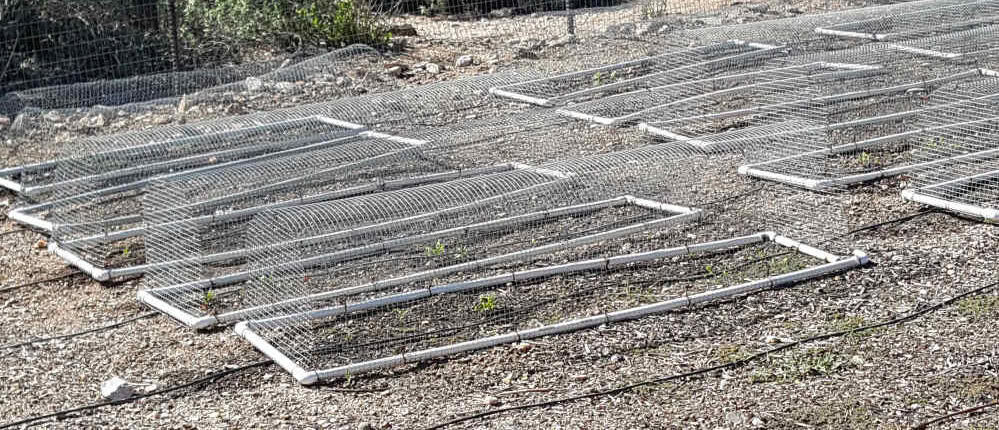
- Physical Barriers: This is the most effective defense. For seeds sown in the ground or in open-top containers, fashioning a lid or cover from hardware cloth or window screen and securing it over the area will effectively exclude most birds and rodents. You can also stake lightweight garden fabric or commercial germination netting over the seedbed to provide protection while still allowing light and water to penetrate.
- Light Mulching: Applying a loose, thin layer of straw or shredded leaves can help camouflage seeds from birds and prevent soil from eroding in heavy rain. However, the mulch must not be packed down, as this can block light and restrict airflow, leading to mold.
Strategic Over-sowing: Nature’s solution to high seed mortality is high seed production. Gardeners should adopt a similar strategy by sowing seeds more densely than the desired final plant spacing to account for expected losses.
Wire frames protecting milkweed seedlings
Choosing the Right Container
The Secret to Strong Roots
Successfully sprouting your milkweed seed is the first major step, but the container you choose for your seedlings is just as critical for long-term success. Many milkweed species focus their initial energy on growing a long, deep taproot. Standard shallow seed trays can cause this taproot to hit the bottom and begin circling, resulting in a restricted and less vigorous root system that is prone to transplant shock. To avoid a root-bound seedling, you have two good options. The first is to plant the stratified seed or young seedling where it will grow, in a large container or in the ground.
The second method is to plant the stratified seed into a container where it has time to grow into a strong seedling, ready for transplanting in the spring. We recommend using deep, narrow containers that encourage the taproot to grow straight down. Expert growers often use specialized propagation cells known as “Cone-Tainers,” which are ideal for this purpose.
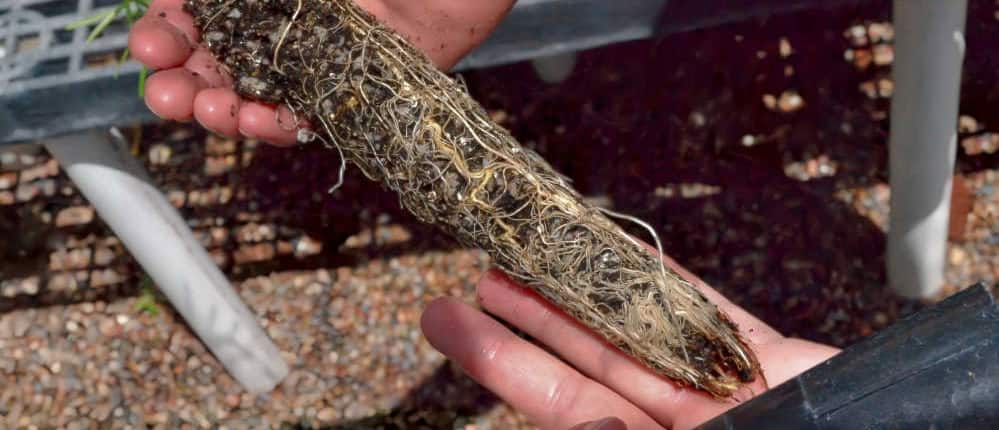
Milkweed seedling roots from a conetainer
From Sprout to Success
Even the most experienced gardeners face challenges in the garden. The key is to recognize the symptoms early and know how to respond. The three most common points of failure for home gardeners—mold during stratification, poor germination rates, and the sudden collapse of seedlings from “damping off”—are almost always symptoms of the same underlying issue: improper moisture management. Your most important practical skill as a seed propagator is mastering the art of providing an environment that is consistently moist but never soggy.
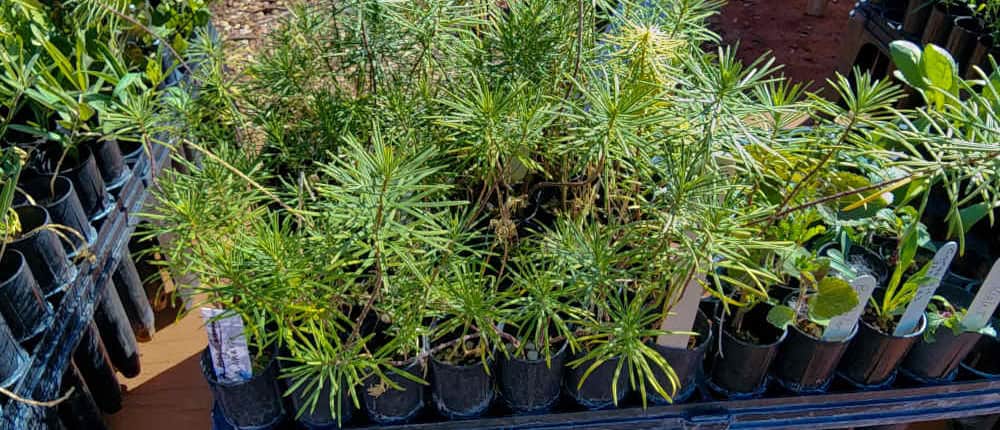
Pineneedle milkweed seedlings in Conetainers
A Milkweed for Every Garden
Our commitment to supporting Monarchs and regional biodiversity runs deep. We are proud to offer a curated collection of milkweed species, with many of them being native to our home state of Arizona. Each variety has its own unique beauty and role in the ecosystem. We encourage you to explore our full collection to find the perfect native milkweed for your garden and climate.
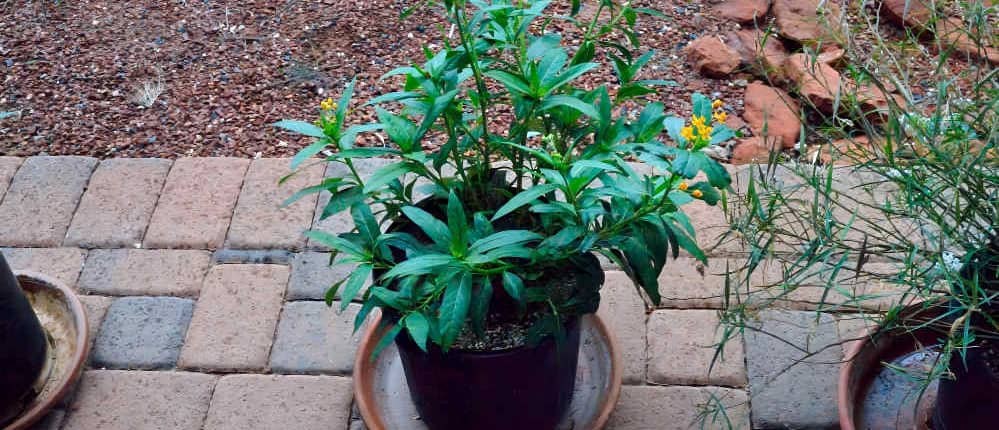
Milkweed growing in a container
The Quiet Work of a Gardener
The journey from a tiny, dormant seed to a thriving milkweed plant is a rewarding one. It’s a quiet, patient, and powerful act. By cultivating these vital plants, you are not just beautifying your garden; you are taking part in a much larger story, providing a crucial link in the chain of a Monarch’s life. It’s a tangible difference, made possible by the quiet and caring work of a gardener.

