How to Clean Up Your Garden
A Proactive Guide to Pest and Disease Prevention
As the gardening season winds down, our focus shifts to the cleanup of spent plants and cluttered beds. This end-of-season work is not the finish—it is the first and most critical step in building a healthier, more resilient, and more successful garden for next season.
This process isn’t simply about “tidying up” for aesthetics; it’s a strategic and proactive disruption of pest and disease life cycles. By systematically removing the “food and shelter” that problems use to survive, we can break recurring cycles and dramatically lower the pressure on our future plants. This guide provides a step-by-step plan for this essential work, transforming your cleanup from a routine task into the foundation for a healthier, more resilient garden.
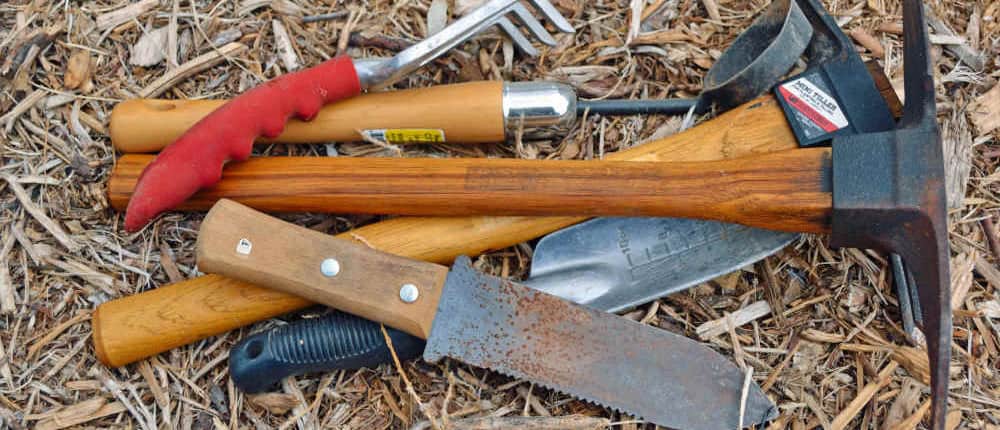
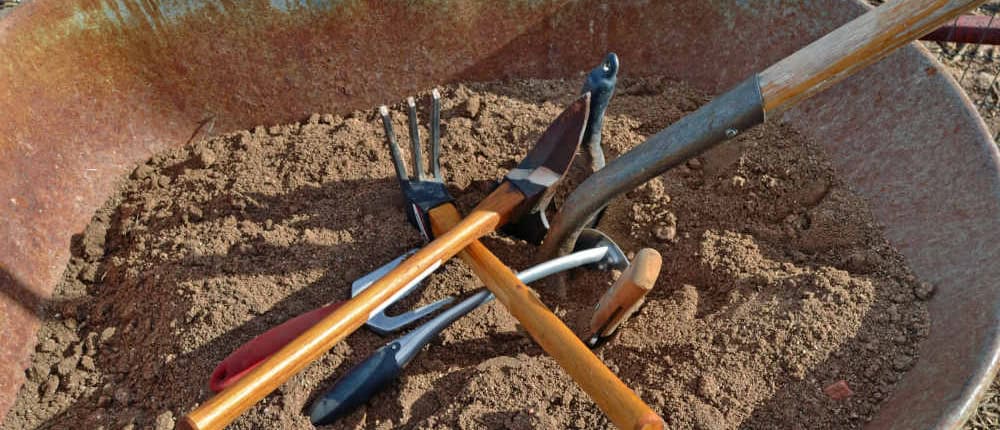
Multiple garden tools are ready for cleanup.
Timing Your Cleanup
A Guide for Every Climate
While the principles of garden maintenance are universal, the timing and goals are entirely dependent on your climate.
- For Cool-Winter Gardeners (Zones 2-7): Your primary window is in the fall, after your first killing frost but before the ground freezes. Your goal is to remove all debris to prepare your beds for a dormant, clean winter, preventing pests and diseases from overwintering.
- For Warm-Winter Gardeners (Zones 8-10): You may have two major windows. The first is in mid-summer, as your heat-loving crops (like tomatoes and squash) succumb to the intense heat. This cleanup is critical to break the pest cycle before you plant your “second spring” garden in the fall. Your second window is in late spring, as your cool-season crops finish.
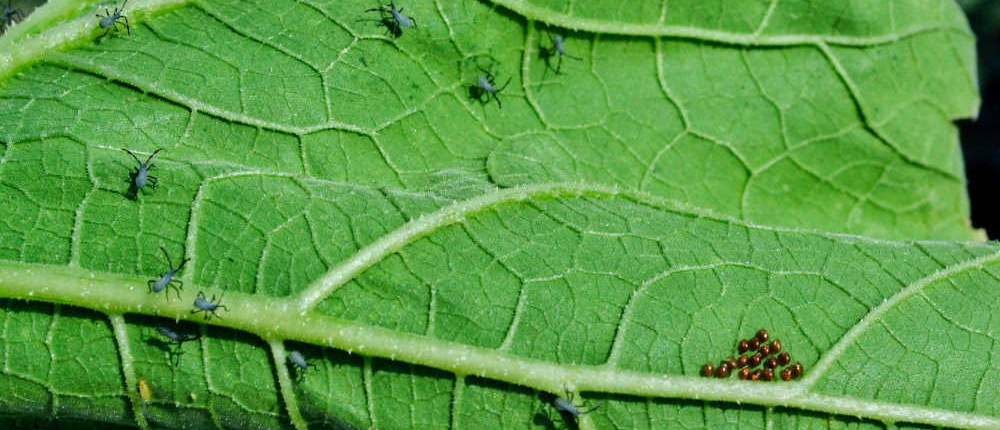
Squash bugs and eggs on the underside of a pumpkin leaf.
How Pests and Diseases Survive
To disrupt our garden foes, we first need to understand where they are hiding.
- Pests: Many common pests have evolved to survive in our gardens. Squash bugs don’t die; the adults hide in leaf litter, under boards, or in any garden debris. Cucumber beetles and aphids lay their eggs on the leaves and stems of the plants they feed on. Cabbage loopers survive as pupae in plant debris or just below the soil surface.
- Diseases: Fungal spores and bacteria are incredibly resilient. Powdery mildew and rust spores survive all winter on infected leaf litter. Early blight and bacterial leaf spot wait patiently on dead tomato or pepper vines, ready to be splashed back onto new plants by the first spring rain.
Your post-harvest cleanup directly targets and removes this shelter and food. This is one of the most effective ways to lower pest and disease pressure, but it is not a miracle cure. It is a critical practice that you must do consistently at the end of each growing season to remain effective.
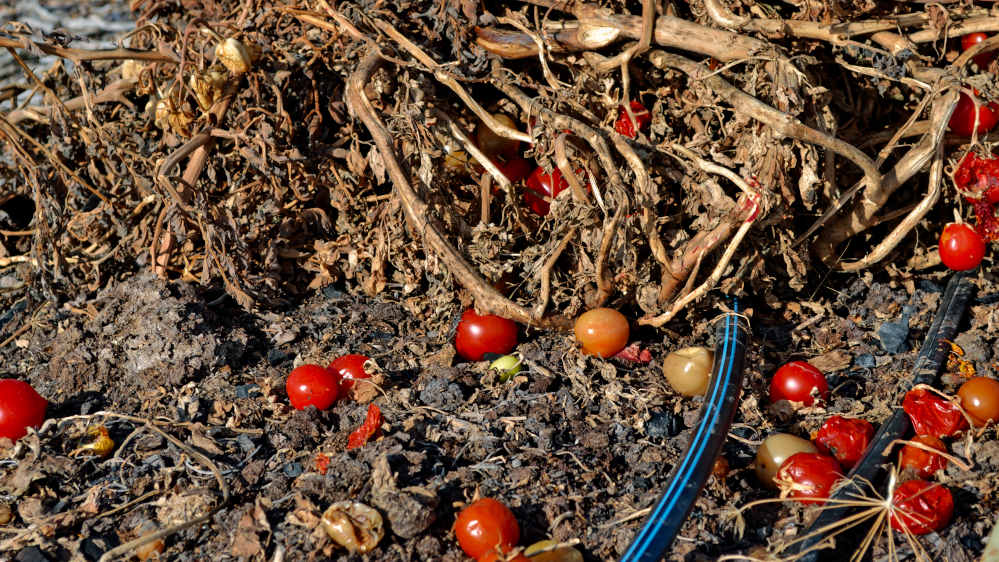
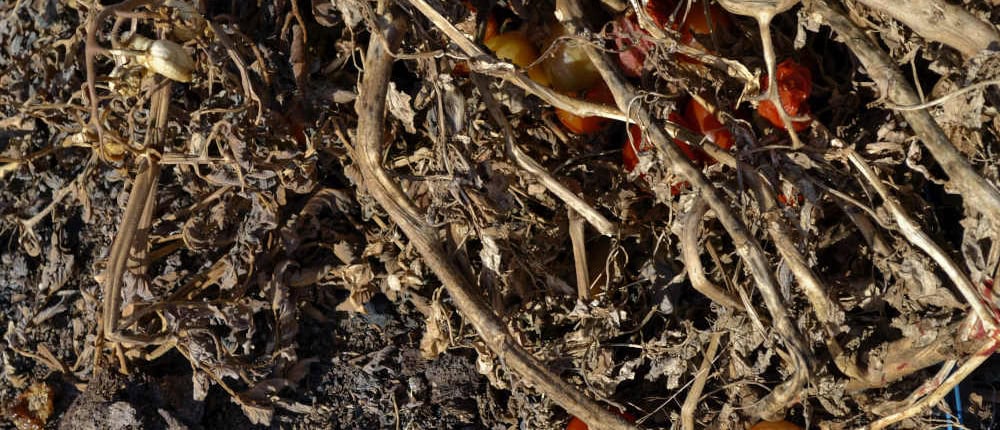
Old tomato plant with fruit and debris.
Garden Cleanup
A Step-by-Step Guide
We can break down this proactive work into four key phases: cleaning the beds, managing the debris, preparing the soil, and caring for your tools.
Step 1: The Garden Bed Cleanup
This is the most visible and impactful part of the process.
- Remove Spent Plants: Pull all annual vegetable plants, especially those from the nightshade (tomato, pepper) and cucurbit (squash, cucumber) families. These are notorious for harboring disease. Perennials with known diseases (like powdery mildew on phlox or rust on hollyhocks) should be cut back hard to the ground.
- Remove Weeds: This is your last chance to stop the weed cycle. Handle any weeds that have gone to seed with extra care. The seed heads are likely ready to drop, and rough handling will shatter them, spreading thousands of new weed seeds for next season. Gently pull or cut the plants to prevent this, ensuring you are removing the problem, not just spreading it.
- Rake the Debris (A Two-Step Process): Rake up all fallen leaves, fruit, and debris from the beds.
- Start with a sturdy bow rake to pull out heavier plant debris and residue. This heavier raking action is the perfect opportunity to actively disturb the top 1-2 inches of soil, achieving the light tilling we show later.
- After the heavy debris is gone, follow up with a flexible spring rake (or leaf rake) to get the finer remains. This two-step process removes the debris that acts as “shelter” and a breeding ground for fungal spores, while also exposing soil-dwelling pupae and disrupting the first layer of weed seeds.
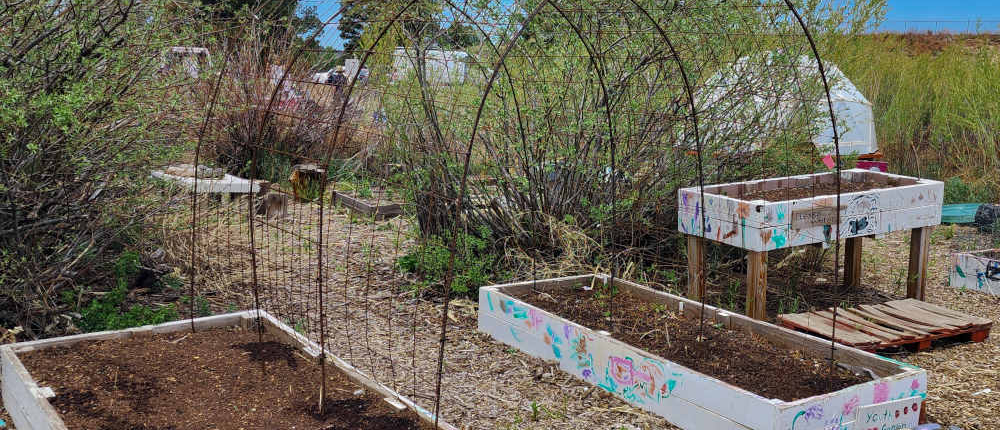
Garden trellis and beds.
Step 2: Safely Managing Garden Debris (What Not to Compost)
Your first instinct for all this garden debris will be to compost it. For diseased or pest-infested material, this is a critical mistake.
Many gardeners assume that a “hot” compost pile will sanitize the material, killing off pathogens and weed seeds. This is an unreliable and often counterproductive strategy.
- It’s Not Always Effective: Most home compost piles—even those that feel hot—do not reach or maintain the specific, sustained temperatures (131°F to 160°F) required to reliably kill persistent diseases and weed seeds. To meet standards for pathogen kill, the heat must be maintained for at least 15 days, with the pile being turned multiple times to ensure all material is exposed. This is nearly impossible to achieve in a backyard setting. Furthermore, this intense, prolonged heat is exactly what burns off valuable nitrogen as gas, defeating the purpose of creating nutrient-rich soil.
The core rule of this cleanup is: When in doubt, throw it out.
- NEVER Compost: This list includes any plant material you suspect is diseased (especially from the tomato, pepper, and squash families), plants heavily infested with pests, and any perennial weeds or weeds that have gone to seed.
- SAFE to Compost (The “Clean” Pile): Healthy, disease-free plant material, straw, fall leaves, and kitchen scraps are excellent for your “biologically friendly” cold compost pile.
- Best Disposal Methods: For all diseased, infested, or suspect material, the safest and most effective disposal method is to bag it for trash removal.
Step 3: Manage the Soil Surface
With the debris gone, turn your attention to the soil.
- Tilling (A Measured Approach): As we mentioned above, a light tilling can be beneficial by exposing soil-dwelling pupae and grubs (like Japanese beetle grubs) to predators and the cold. However, you must balance this against the damage tillage does to soil structure and earthworm populations. A “broadfork” or a very shallow cultivation is often a better compromise. As a rule of thumb, tilling only the top 2 inches can achieve the sanitation goal without harming the vast majority of earthworms and beneficial soil organisms that live deeper in the soil.
- Mulch Management: If you had a major problem with pests like slugs or diseases that spread on soil splash-up, it is wise to rake off and dispose of the old mulch, as it can harbor both. In healthy beds, the old mulch can be left in place to decompose.
- Plant Cover Crops (The Proactive Step): The best “mulch” for your beds is a living one. Planting a cover crop suppresses weeds and prevents soil erosion. For active cleanup, planting “biofumigant” crops like tillage radishes or mustards can help suppress soil-borne pathogens and nematodes as they decompose, actively cleaning the soil for you.
To better understand how this process works, you can read our full article, Why Grow Cover Crops? Easy Soil Improvement.
Garden tool cleanup in a wheelbarrow of sand.
A Guide to End-of-Season
Tool and Infrastructure Care
Your final act of cleanup is to clean the tools and structures that can transfer problems from one season to the next.
Step 1: Clean and Sanitize Pots & Containers
Do not stack dirty pots in the shed. Soil scraps and plant residue can harbor disease spores and insect eggs.
- Use a stiff brush to scrub all caked-on dirt from plastic and terracotta pots.
- Sanitize the clean pots by soaking them in a solution of one part household bleach to nine parts water, or by spraying them thoroughly with 70% isopropyl alcohol. Let them air dry completely before storing.
Step 2: Inspect, Clean, and Store Trellises & Stakes
Stakes and cages used for tomatoes or beans are notorious for harboring blight and other pathogens. Wipe them down with a sanitizing solution (alcohol or bleach/water) before storing them for the winter. This is also the perfect time to inspect any garden fences or structural trellises, making repairs now so they are strong and ready for spring.
Step 3: Tool Care
Your tools are a primary vector for spreading disease. A full end-of-season service is essential for their performance and your garden’s health.
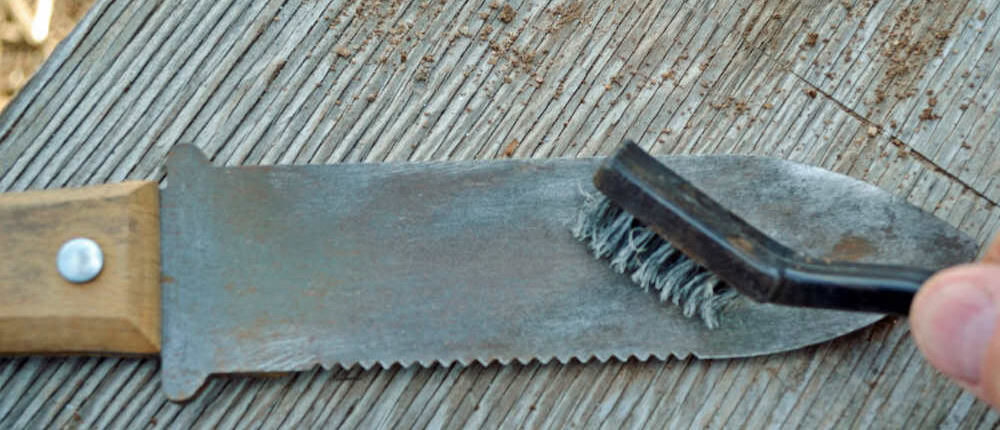
- Gather & Clean: Get all your tools in one place. Use a putty knife or a wire brush to remove all caked-on dirt and rust. For shovels, trowels, and rakes, the “bucket of sand” trick is invaluable: fill a 5-gallon bucket with coarse sand and a little bit of linseed oil. Plunging the tools into the sand scours them clean.
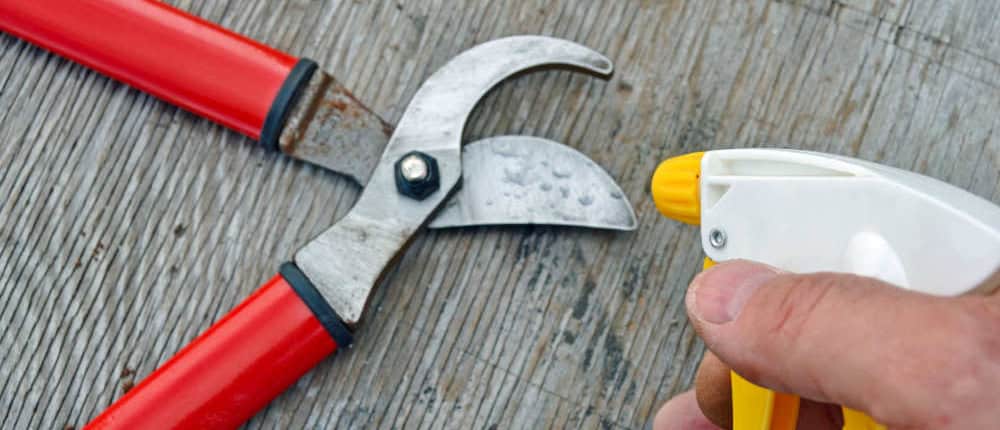
- Sanitize: For tools that you used on diseased plants (like pruners), sanitation is critical. Wipe the blades with 70% isopropyl alcohol. It is more effective than bleach, which is highly corrosive to metal.
- Sharpen: A sharp tool is safer and more effective. Use a good-quality hand file to sharpen the edges of shovels and hoes. For pruners and loppers, use a smaller honing or diamond stone, following the original angle (bevel) of the blade.
- Oil & Protect: This is the most important step for longevity. Rub all metal surfaces with a cloth soaked in linseed oil. This prevents rust from forming during winter storage. For wooden handles, rub them down with linseed oil as well to prevent them from drying out and cracking.
- Store Properly: Store your clean, sharp, and oiled tools in a dry location. Hang them on a wall rack instead of leaving them on the floor. This protects the sharp edges, prevents rust, and keeps them organized for spring.
Step 4: Drain Irrigation Systems
Finally, drain all your garden hoses, drip irrigation lines, and timers. Bring them indoors or into a shed. Water left inside will freeze and crack the lines, and open ends are a favorite winter home for spiders and other insects.
Sanitizing pruners with Isopropyl alcohol.
The Foundation for a Resilient Garden
This “between-season” work is the true foundation of your next garden. By thoughtfully cleaning your beds, managing your soil, and caring for your tools, you are stepping out of a reactive pest management cycle. You are proactively building a healthier, more resilient garden that will be ready to burst into life next season.

