
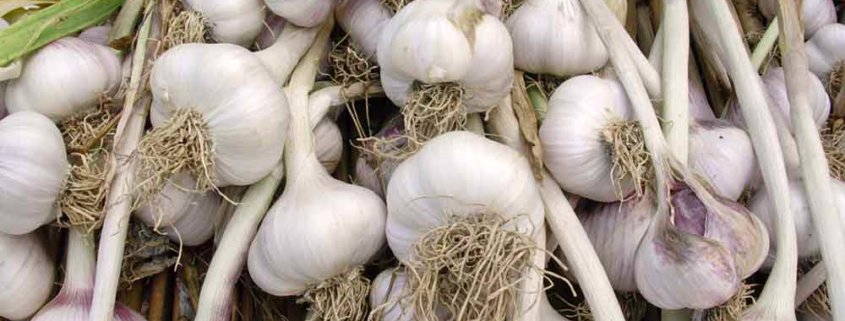
Homegrown Hardneck Garlic
There are three excellent reasons to grow your own garlic:
- Home-grown garlic has an incomparable flavor to anything you can buy,
- There are more health benefits to fresh garlic, and
- You’ll have remarkable results with little work.
Garlic grows from the individual cloves, forming a bulb divided into separate cloves held together and protected by layers of a papery skin. As with most gardening, the key to superior results is in the details, but it isn’t difficult to have impressive looking (and tasting) garlic.
Normal yield is about 6 to 7 times the amount planted, so a bulb with 6 or 7 cloves should grow another 6 bulbs. To determine approximately how much garlic you will harvest, use the average number of clovers per head as a good starting point. Another way to estimate is one ½ lb. order of garlic can produce 3 to 3 ½ lbs. when harvested.
This article is about hardneck garlic – varieties that produce a long flowering stem from the center of the bulb. Hardneck garlic tends to have a more complex flavor profile than the standard supermarket variety, which is almost universally softneck. It is richer, spicier, and more “garlicky”, with larger cloves that are easier to peel.

Hardneck Garlic Plants
Where to Plant
Garlic needs full sun to grow the best bulbs, so choose an area that gets full sun all day. Partial shading results in smaller bulbs.
Soil fertility and quality are key for large bulbs and delicious flavor, as garlic has a shallow root system and needs loose soil to grow and expand properly. Growing a cover crop like our Garden Cover Up mix two or more months before planting garlic prepares the soil beautifully, often needing little to no extra preparation. Adding a layer of compost in late spring to early summer helps feed the soil as well.
Gourmet garlic growers will often spend one to two years preparing the soil in a new section to ensure they plant into the most fertile, loose, and biologically active soil possible to get the biggest and most flavorful garlic around. Don’t skimp on your soil preparation!
Freshly planted garlic needs thorough watering for the first 3 days to start the growing process. Afterward, water like any other root vegetable – don’t let the soil dry out, but make sure it isn’t wet either.
When to Plant
Garlic is traditionally planted in the fall, but the ideal time depends on where you live. A good rule of thumb is to plant garlic in the fall for larger bulbs over a longer time and in spring for smaller bulbs but a shorter harvest time.
Northern gardeners in colder climates should plant 4 – 6 weeks before your usual first hard frost to give the garlic time to get established and put on some green growth. Cover the green leaves with a thick protective layer of mulch for insulation about a week or two before the first frost – a foot thick is not too much. Good mulch materials are lightweight insulation like straw or shredded leaves.
Remove about half of the mulch in the spring as the weather warms up, adding the mulch to your compost pile. The garlic will emerge from dormancy and continue growing, while the mulch decomposes and feeds the growing bulbs.
Those in more moderate climates that don’t see single-digit winter temperatures have more flexibility in their planting schedule. Garlic grows in cooler temperatures than most other root vegetables, so planting can be up to 2 – 3 weeks before the first hard frost. Mulch as above, but only 3 – 4 inches are needed.
Gardeners in warmer climates that rarely see freezing winter temperatures should vernalize – or chill – their garlic for at least 4 – 6 weeks before planting to ensure a good sized bulb is formed. This replicates the freezing winter weather of the colder climates. Planting in fall takes advantage of the cooler weather and gives you more time for the garlic to mature before the late spring heat arrives.
It is interesting to note that serious garlic growers often vernalize their planting stock, no matter where they live. Experience has shown that chilling at around 50°F for even 2 weeks produces larger, denser, better-tasting bulbs, no matter where you are.

Music Hardneck Garlic Bulb and Cloves
How to Plant
Separate the bulbs into individual cloves just before planting to avoid drying out the cloves. Remove the outer skin and pull the bulb apart without breaking the small section of roots – known as the basal plate – at the bottom. Try to keep the skin intact and make sure to keep the basal plate intact on each clove, otherwise, they won’t grow.
In colder climates plant the clove 2 – 4 inches deep and in milder climates about 1 inch deep. Plant the basal plate down with the stem upward. Plant the cloves 4 – 8 inches apart to give them room to mature with sufficient nutrients without competing with their neighbor. Space rows at least 18 inches apart, or what makes sense for your garden set up to allow for mulching, weeding, and adding compost easily.
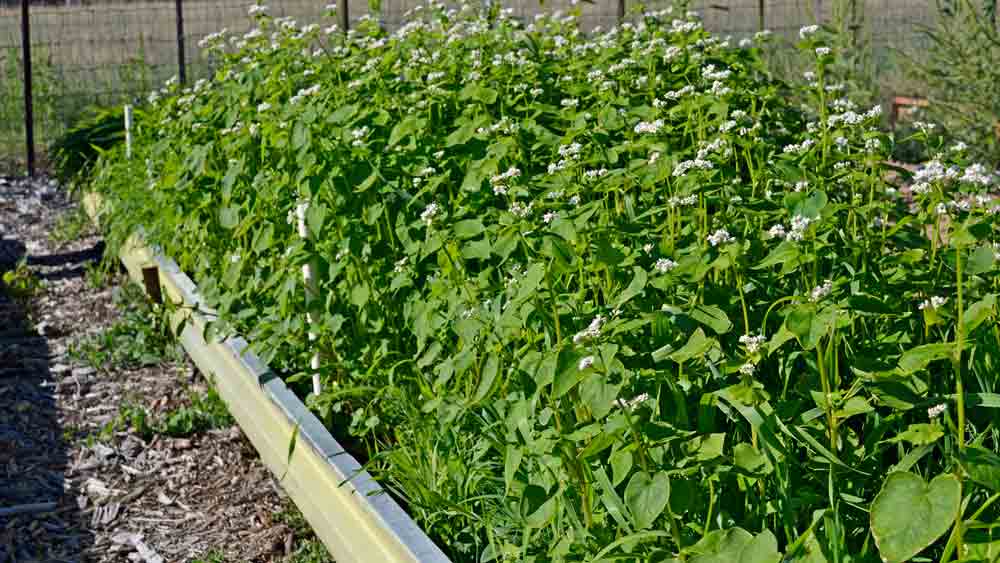
Garden Cover-Up Mix
How to Control Weeds
Weed management in garlic is especially critical since the crop is often in the ground 8 to 9 months, spanning two normal growing seasons. Some weeds grow best in hot weather, while others prefer the cooler seasons, and your garlic is growing through both. Uncontrolled weeds can reduce garlic harvest by up to 50%!
The best, most effective methods start a couple months before the garlic is planted. There are two methods – cover crops and weed cultivation.
The first method uses cover crops planted 2 – 3 months before the garlic goes in to choke out weeds and improve the soil fertility. Let the flowers bloom, then cut the stalks down to create a green mulch and allow them to decay for a month, then plant your garlic right into the residue. Your garlic grows and matures as the organic materials both above and below the soil decompose, feeding the garlic.
The second method lightly cultivates the top two inches of the soil, bringing weed seeds to the surface and then watering well. The weed seeds germinate in a few days and they are allowed to grow to about 2 – 3 inches tall before they are tilled under. This process repeats itself two to three times which exhausts the readily available weed seed bank in the top of the soil before planting your garlic.
Both methods work, but only the cover crop approach improves the soil fertility while reducing weeds.
When to Harvest
As the plants resume growing in the spring, make sure they don’t flower, which takes energy away from bulb production. Clip the young flower stalk – also known as a scape – just above the plant and enjoy their delicate flavor in light spring dishes.
Once the plants are mature and the topmost leaves start drying out, reduce the moisture to help the bulbs mature and begin drying down. The top couple of inches should be barely moist so there is enough at the root zone to feed the bulb as it finishes growing and maturing.
Harvest the bulbs when there is an average of six green leaves on each plant. This is the optimum time to harvest and start the dry-down process to ensure there are enough wrappers or skins left to protect the bulb. Each leaf represents one wrapper or skin, and the goal is to have 3 – 4 skins left for protection after dry-down.
Harvest in the cool of the morning or late afternoon for the best flavor and quality. Exposure to hot sun or soil for even 10 – 20 minutes immediately after harvesting can effectively cook the garlic and ruin it. Pull by hand or gently dig them up, remove any dirt and spread them out in a shady, well-ventilated area to cure.

Curing Hardneck Garlic
How to Cure
Garlic cures into a better, more flavorful product that stores longer if it’s in a consistent environment without large temperature and humidity fluctuations. Depending on your conditions, curing can take from two to four weeks, but the wait is well worth it!
Trim the tops and roots and clean the bulbs after the curing is mostly finished to protect the bulbs from disease. The exception is if you are in a humid climate, then trim the roots immediately after harvest and monitor the tops to make sure they are drying down to avoid mold. If they remain moist, then trim the tops as well.
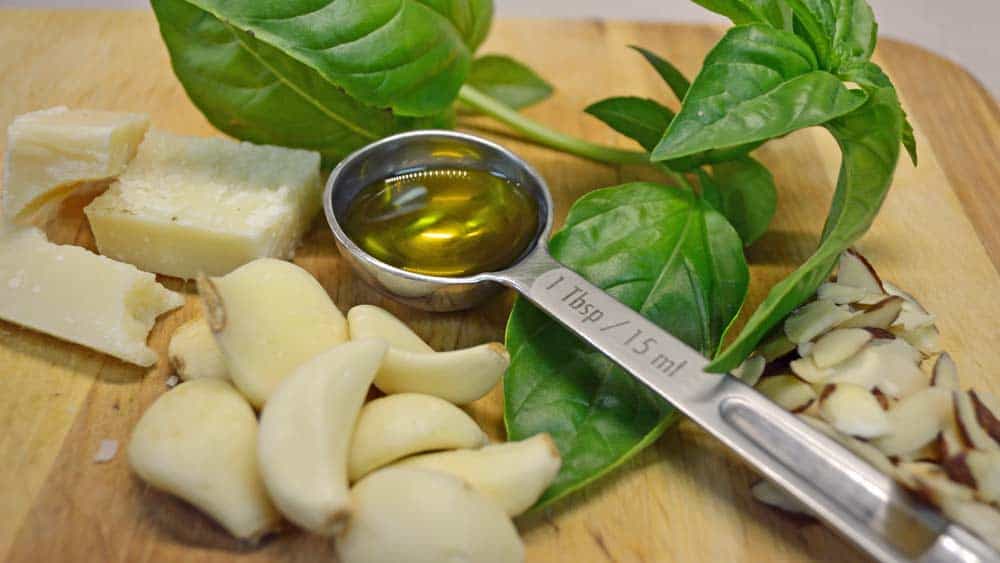
Hardneck Garlic in Pesto
How to Use
Hardneck garlic is highly valued for its complex and robust flavors, making it an essential ingredient for gourmet restaurants and innovative chefs. It pairs well with many recipes, from raw in fresh pesto to fermented in chile pastes, as well as in soups, stews, stir-fries, and pan-roasted vegetables.
For an idea of how versatile our garlic is, visit the Recipes section of our website and click on the Garlic ingredient for a list of recipes to try!