
Easy Seed Germination Testing at Home
Why Test Your Seeds
Do you have some old packets of seed around, with doubts about the viability; or have you saved seed for a few years and wonder if they will still sprout?
Do you know if those seeds will grow?
Have you ever wished for a way to make sure?
We will show you how to know for certain whether that older packet of seed is still good, or how long you can keep those tomato seeds around before needing to pitch them.
There is a way, it is easy and simple to do. It’s called a seed germination test and you probably have all of the supplies needed in your kitchen.
Here’s How to Do It
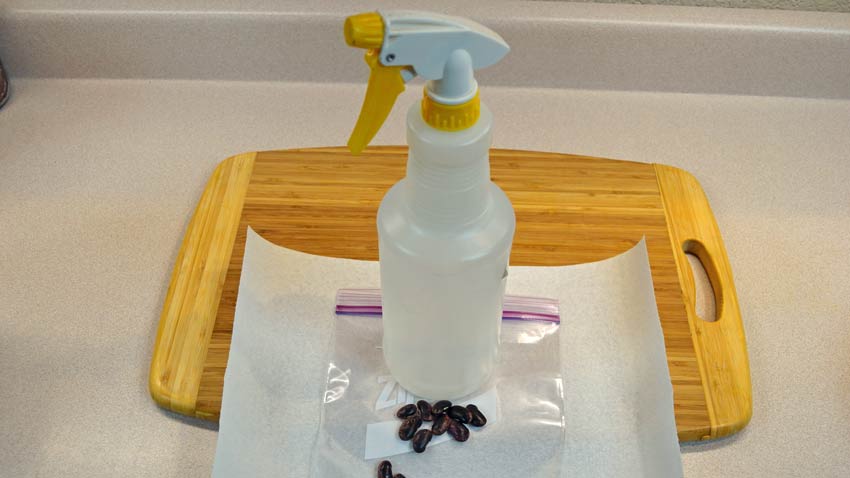
Germination Testing Supplies
You will need these 3 things, plus the seeds you want to test for germination –
- Paper towel
- Spray bottle of water
- Ziploc type plastic bag

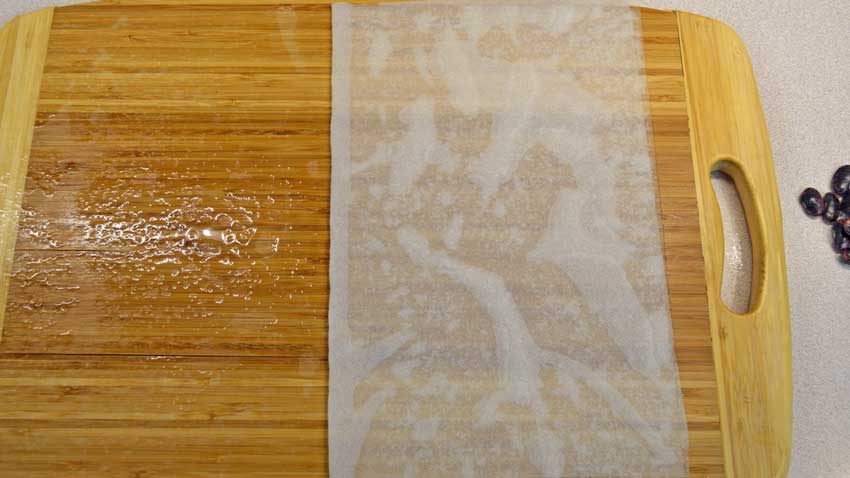
Wetting the Paper Towel
The first – and most important – step is to thoroughly wet the paper towel. This is the first and easiest step, but most mistakes are made right here, leading to poor germination. Smaller seeds don’t need as much water for germination, but larger seeds do. The extra moisture will create a humid environment in the plastic bag, helping the germination process.
The dry towel is on the left, with the properly wetted towel on the right side. You should be able to see through the towel to the surface underneath – then it’s wet enough. If it’s drippy when you pick it up, it’s wet enough. If you wet the towel like on the middle left side – damp but not wet – there’s not enough moisture for the seed to absorb and begin the germination process.
If you want to learn more about what happens during a seed’s germination, read Starting Seeds at Home – a Deeper Look!
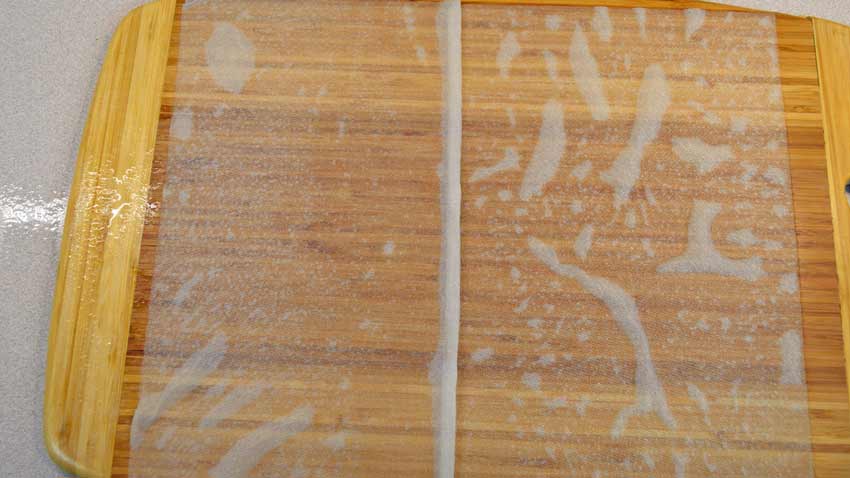
Folding Paper Towel
Next, after the paper towel is thoroughly wet, fold it in half. You can see just how wet the towel is by the amount of water left on the board after folding it over.
Unfolded Paper Towel
Open the towel back up, leaving a fold to mark the center of the towel.
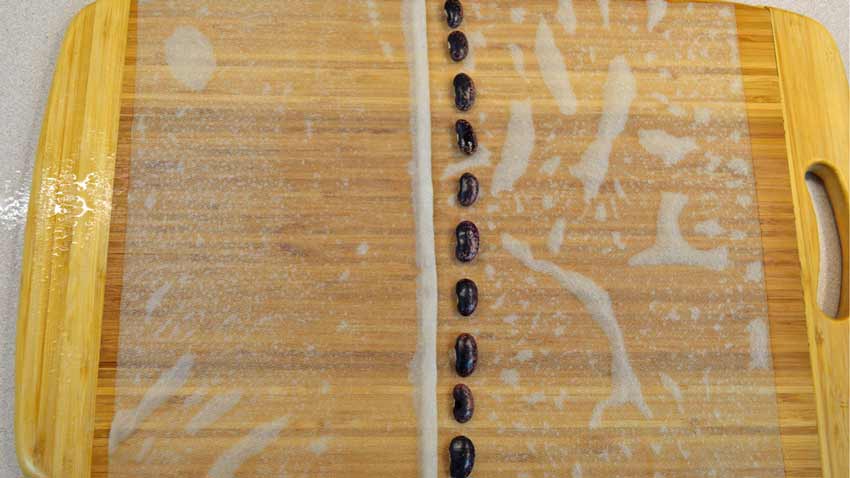
Seeds on Paper Towel
Third, place the seeds along the fold, leaving room for them to sprout so they don’t become tangled up.
If you are doing a germination test use enough seeds to make the math easier, such as 10, 20 or 25 seeds. When we are doing a germination test, we follow established testing guidelines, but as a home gardener a smaller amount will verify if your seeds are viable and can sprout.
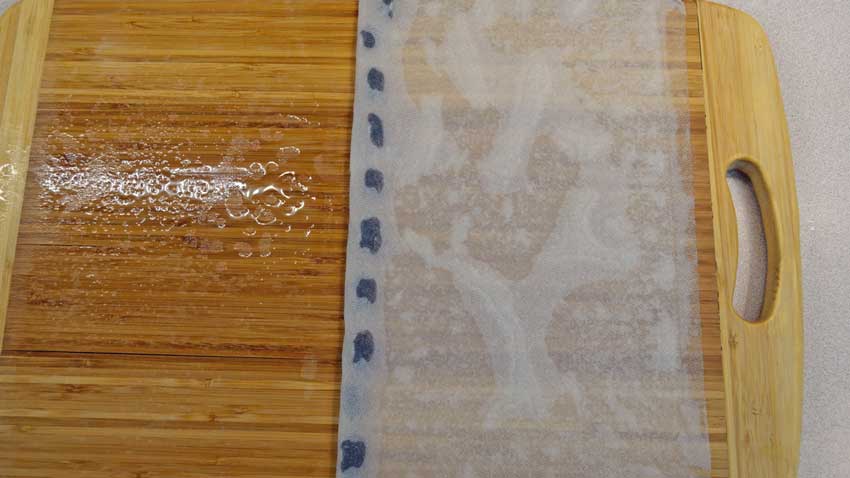
Folded Paper Towel
Re-fold the paper towel, enclosing the seeds.
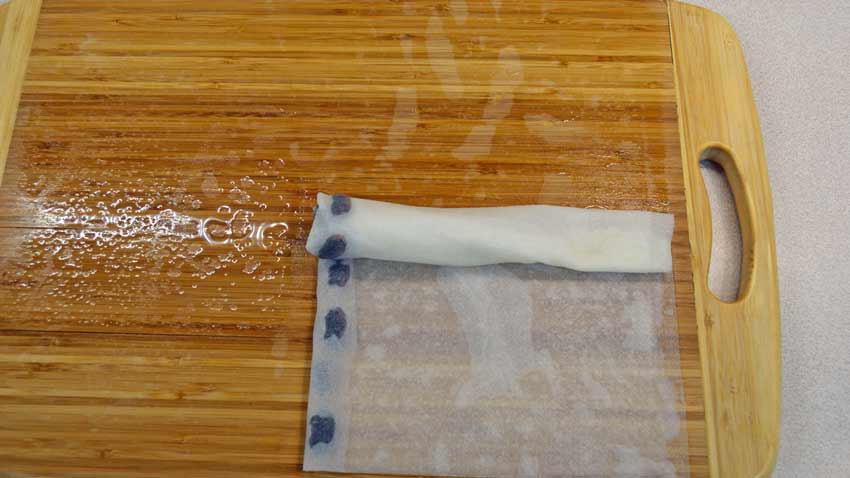
Rolling Paper Towel
Roll the paper towel up….
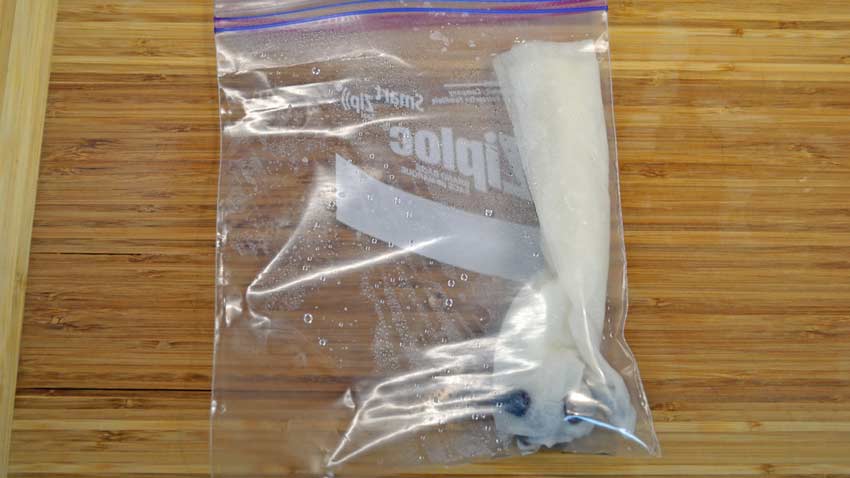
Paper Towel in Ziploc
…and place it inside the Ziploc bag. There should be a good amount of moisture in the bag to start the germination process, so if you don’t see moisture droplets inside after a few minutes, open the bag and give it a squirt of water.
Finally, place the bag in a consistently warm place – like the top of the refrigerator or in a warm window. Most vegetable seeds do not need light to germinate, so a darker place is fine to begin with.
Check every couple of days for moisture levels and the start of germination. If the moisture levels drop significantly – this is a good sign the seeds are absorbing the water and beginning to sprout. Add a spritz or squirt of water as needed, usually only once or twice a week.
Once the majority of seeds have sprouted, open the paper towel up, count them and do the math to get a percentage. For instance, if you started with 10 seeds and 7 sprouted, you have roughly a 70% germination rate. If 20 out of 25 seeds sprouted, there is about an 80% germination rate.
Other Seed Germination Tests
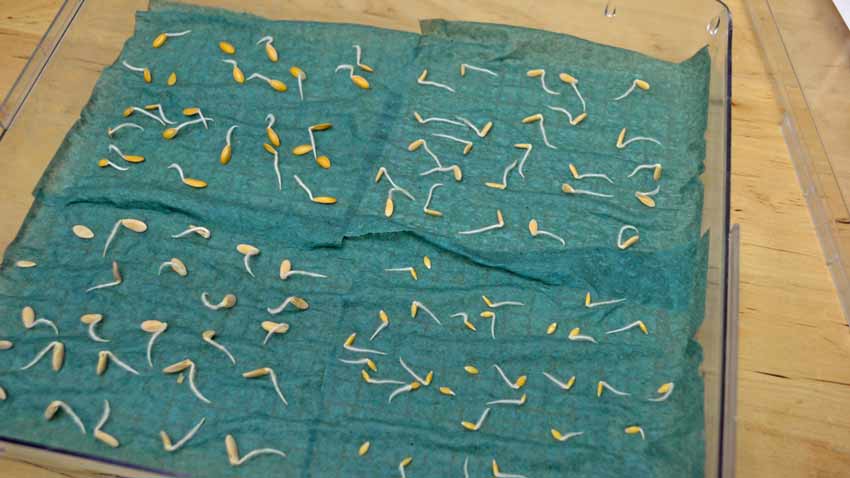
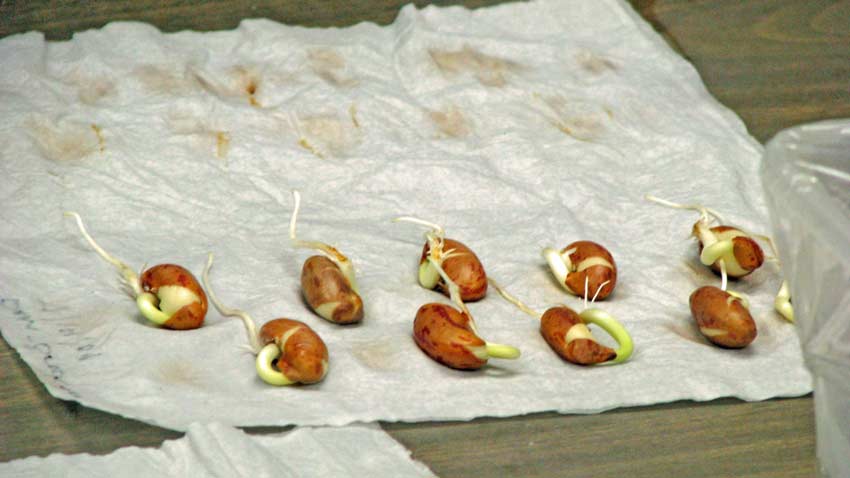
Germination Testing Results
This is what one of the germination tests we do looks like – pretty good! These seeds are viable with a better than 90% germination rate.
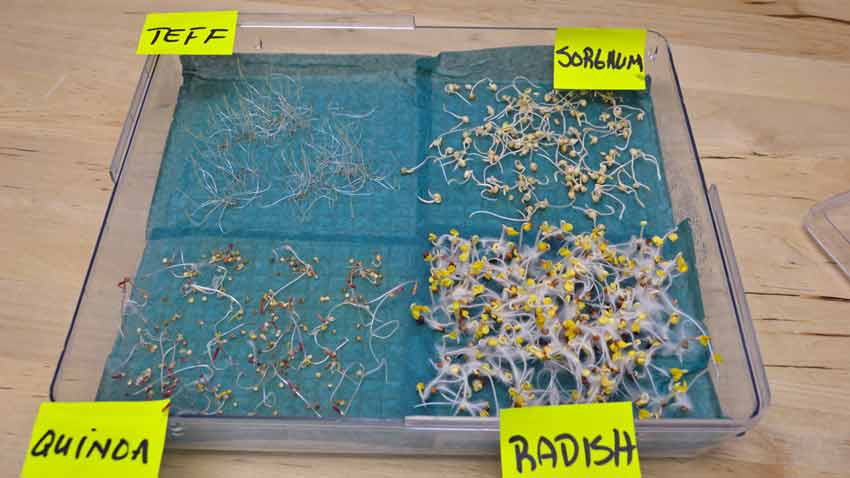
Multiple Seed Germination Testing Results
For smaller seeds, we will often divide the germination chamber into half or quarters to make the process more efficient. Some seedlings will mold faster than others, this is why you monitor the progress closely if you are pre-sprouting for transplanting.
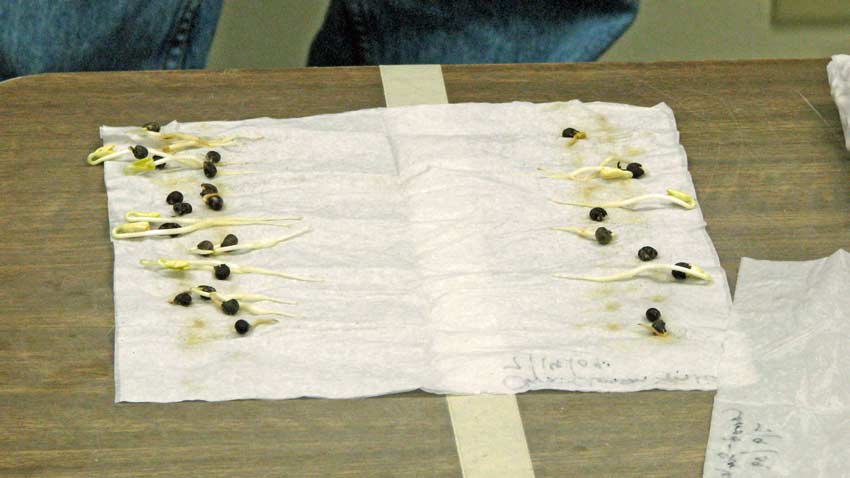
Seed Germination Testing at Seed Savers Exchange
The “Paper Towel Method” is almost universally used. Here are the results from a germination test at Seed Saver’s Exchange. Note the labeling of variety of seed and date the test was started. If you are keeping track of your germination percentages, like we do, it is important to keep clear notes and details!

Germination Results at Seed Savers Exchange
Please Note: Depending on the type of seed you are testing, you may see very different results and they may take more time than the average vegetable seed.
For instance, herbs and flowers usually take much longer – sometimes weeks – to germinate, and can have lower germination rates. This is normal and not something to be concerned with.
Next Step:
Learn more – Seed to Seed Book is our go-to reference for all things seed related, including germination times, needs and regional recommendations.


Leave a Reply
Want to join the discussion?Feel free to contribute!