
Easy Homemade Basil Pesto
Fresh, homemade basil pesto is one of the treasures of summer. There are many tasty treats that come out of our gardens during summertime, but pesto is one that is very easy and pretty quick to make. It freezes well and there is very little that evokes the flavor and fond memory of warm summer days than the taste of a batch of pesto on a cold winter’s day.
It might be because almost all of the other garden offerings are cooked in some way while preparing them for storage, while pesto is just frozen. It retains that true, fresh flavor better than many other vegetables that are frozen while fresh.

If you haven’t made your own fresh pesto from basil you’ve grown, you might be surprised at how easy it is to grow or how small of a space it takes to grow a good amount. This is an old horse water barrel that was “up-cycled” from a 55-gallon water drum that was cut in half. It is about two feet deep, and we filled it with a mixture of soil and aged compost.
We planted Thai basil in one half and Sweet basil in the other, so you can see how vigorously they grow. We’ve been enjoying fresh basil sprigs in our morning eggs – both the Sweet and Thai work wonderfully, giving their signature perfume and aroma to the breakfast. We also love the Genovese basil, considered the classic pesto basil – but it bears experimenting with different basil varieties and even mixtures of basils in a pesto recipe to see what flavors come out and find what you particularly love!
For this batch, we trimmed about half of the Sweet basil – about 1/4 of the circle- so there would be plenty left for another batch. Basil will grow back quickly, so don’t worry about trimming it short – we left about 3 inches above the soil.
This is our adaptation to the time-honored Pesto Genovese. It is made by pounding in a large mortar and pestle, but we find the flavors are very good when made with a food processor. It won’t be quite the same, and you owe it to yourself to make it the classic way at least once—even if only to see the difference in flavor.
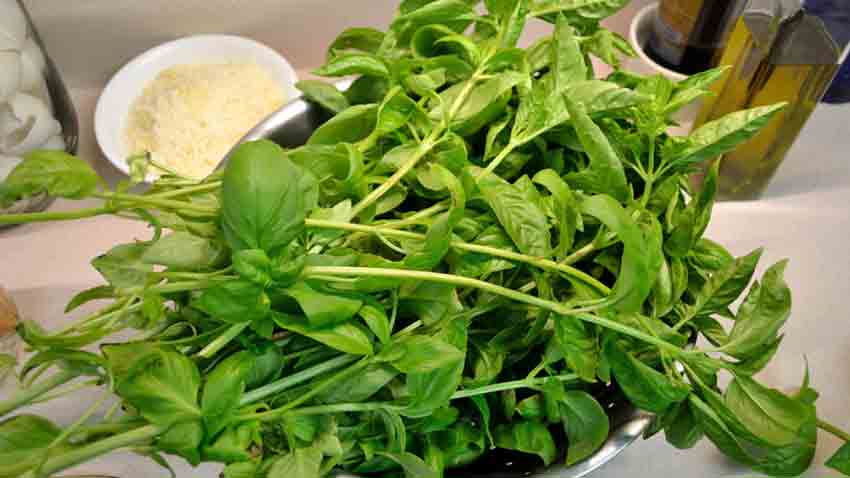
This is what that 1/4 of a circle planter of basil looks like! It overflows a large colander and is ready for the leaves to be picked.
If you are making fresh pesto for dinner, put the water on to boil just before you start picking the leaves. The water will be boiling when you’ve gotten the leaves off and washed and the cheese grated. With just a little preparation on the timing and ingredients, you can have the pesto done just about when the pasta is ready.
It took us about a half hour total to make this batch, including photos.
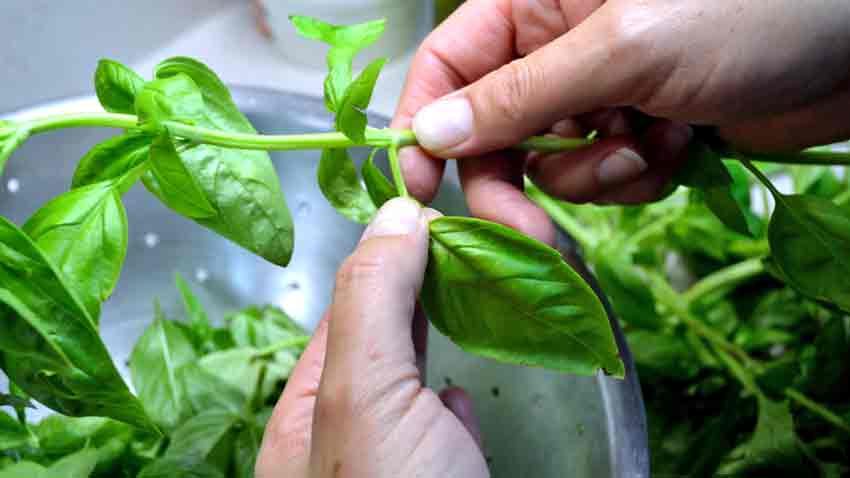
Harvesting the basil leaves is straightforward – pull them off the stem. You can change the overall flavor of the pesto by harvesting more of the younger leaves for a milder flavor or older and larger leaves for a deeper flavor. If you see young buds or flowers, adding a few of these will add a completely different flavor profile to the pesto. When making pesto to use as a remoulade to top a grilled steak with, using more of the buds will give it a sharper flavor to counter the rich, meaty steak.
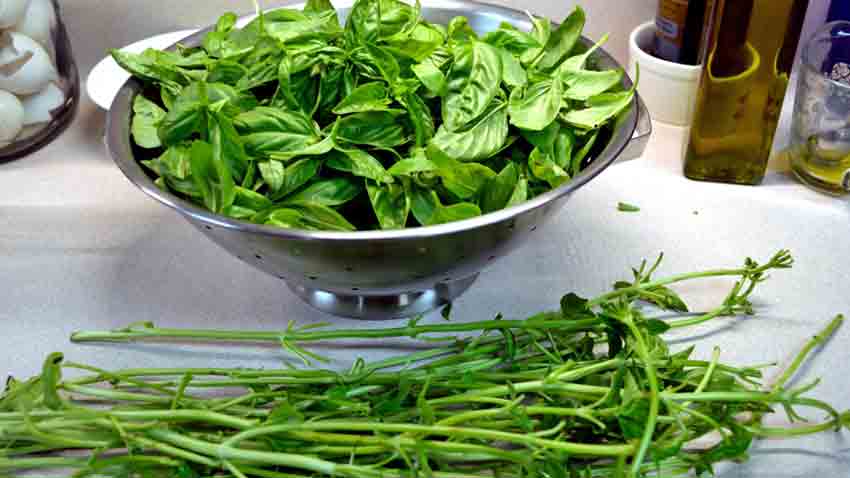
You’ll have this in just a couple of minutes – a colander full of leaves and a pile of stalks. Rinse the leaves well and compost the stalks. If you’ve grown your own basil, you’ll probably notice that there is much less dirt than when bought at the store. This results when growing in a raised bed, especially using a drip system. The drip will not splash dirt up on the leaves, and a mulched raised bed will greatly reduce the rains from splashing dirt up as well. It makes a noticeable difference in how long it takes to rinse the leaves.
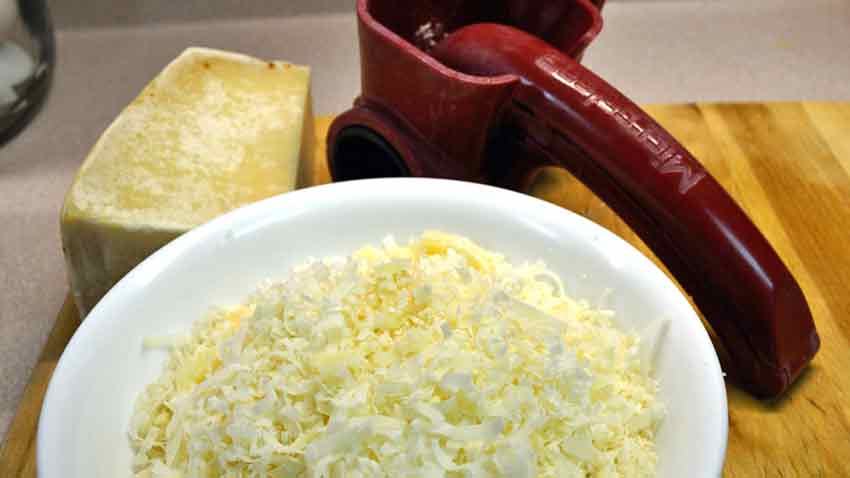
After rinsing the leaves, leave them to drain for a few minutes and grate the cheese. This is another chance to experiment with flavors, as the classic Parmigiano-Reggiano cheese is great, but a Pecorino is also delicious. Don’t be afraid to try different types of hard-grating cheeses to see what they bring to the recipe. Several hand-crafted American cheeses would be a tasty addition – not “authentic” but very delicious all the same!
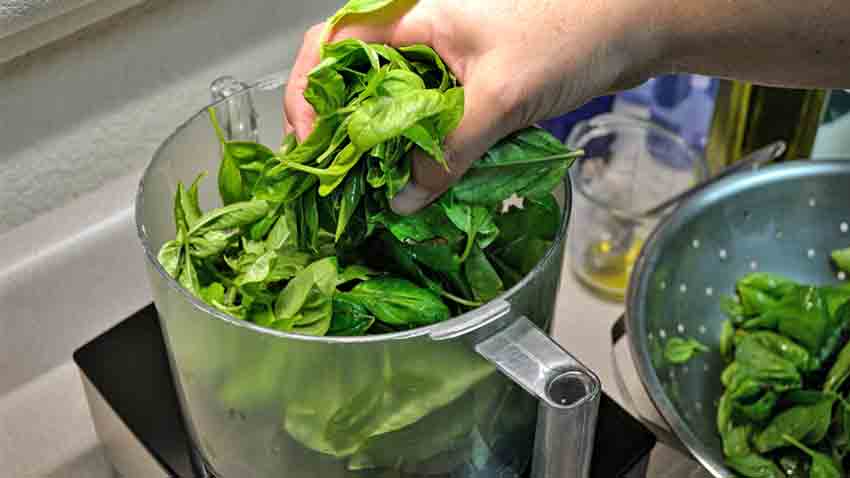
By this time, the basil leaves had drained, and it was time to add them to the food processor. All of the other ingredients, except the oil, were added as well. The water was at a boil, so we added the pasta to the water and then returned to the food processor.

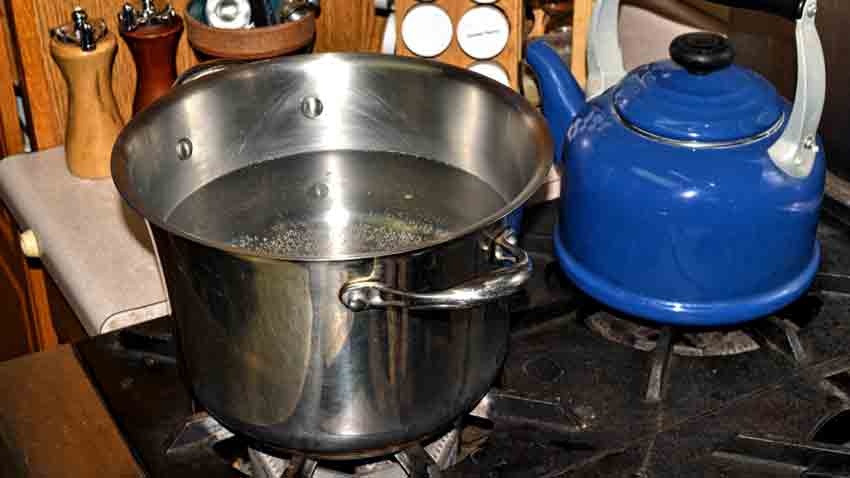
Does your pasta pot always seem to boil over, leaving a mess to clean up? We’ve found this Pot Minder to be a great little addition – it is a ceramic disc that almost stops the foaming that leads to boilovers. All you do is drop the disc in when you add the pasta, rice, or potatoes, and the boil-overs are decreased by at least 90%. I won’t say you’ll never have boil-overs again, but not very often, and they will be much smaller than before.

Here is the pot full of pasta at a full boil, with the small amount of foam being normal. The Pot Minder means one less thing to think about when you are in the middle of cooking dinner.
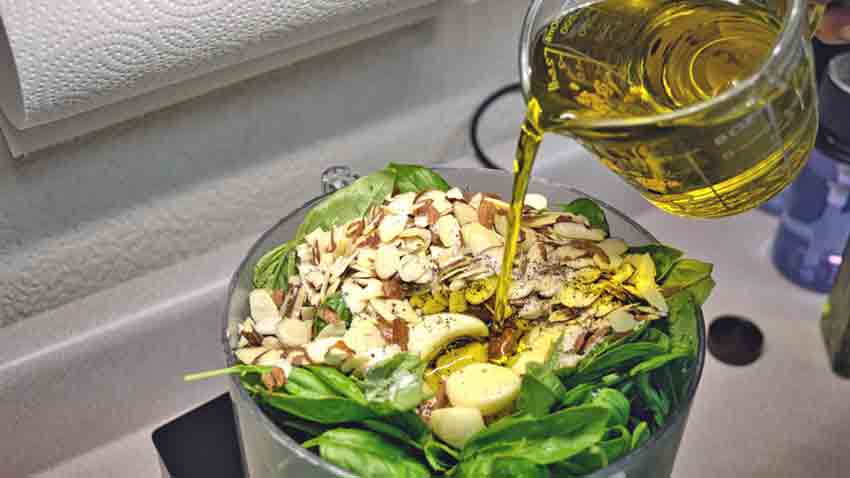
With the pasta starting to cook, the rest of the ingredients were added – garlic, nuts, and olive oil. We like to start with about 2/3 of the final amount of oil. That way, if more oil is needed, it is easy to add it, but if there is too much oil, it can’t be taken out!

The food processor is pulsed for several seconds at a time first to chop the ingredients and convert the mass of separate ingredients to the beginnings of a paste. After it has started to form a paste, use a flexible spatula to scrape the bowl and clean the sides, getting all of the good flavors into play.
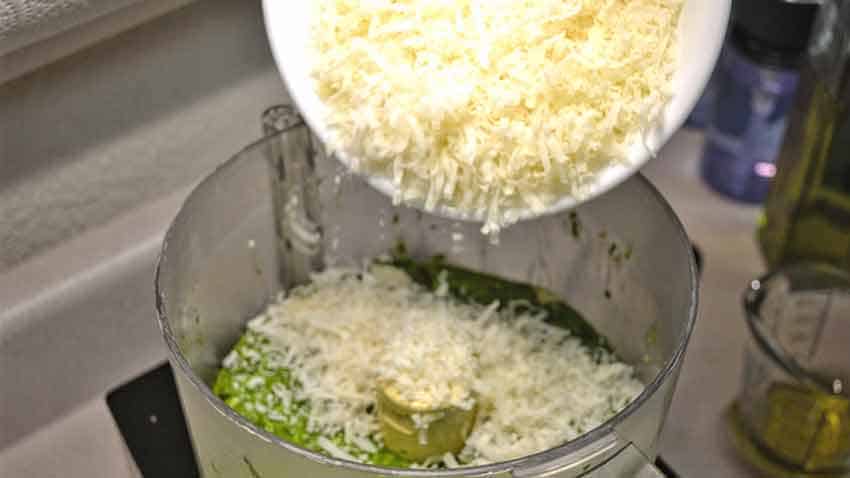
After all of the ingredients have started to incorporate into a loose paste, add the grated cheese. We like adding it in two parts to make blending in and combining the flavors easier. Make sure to pulse the processor a few seconds several times until it begins to disappear into the paste and become thicker. Do this until all of the cheese has been added. Use the flexible scraper to clean the sides of the bowl.
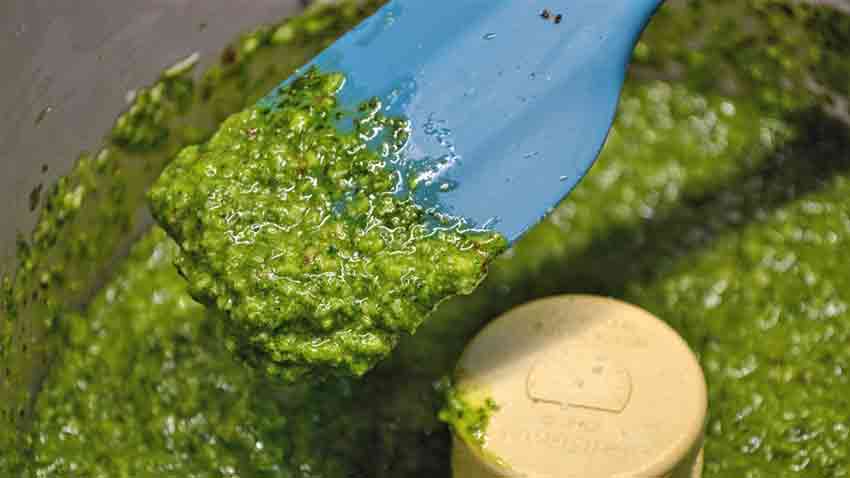
Now it’s time to examine the pesto. You can leave it fairly chunky and coarse, like the above photo shows, or you can make it much finer by pulsing the food processor for 30 – 45 seconds several times more. It is all up to your preference, both in flavor and appearance. The flavors will change as the pesto is chopped finer by the processor blades. Make sure to taste the pesto several times to determine what you like.
Don’t worry if you make it too fine. The basil plant will re-grow quickly, and you’ll have a second chance soon! The fine pesto will likely still taste good, giving you a chance to refine your technique and put your signature on the dish.
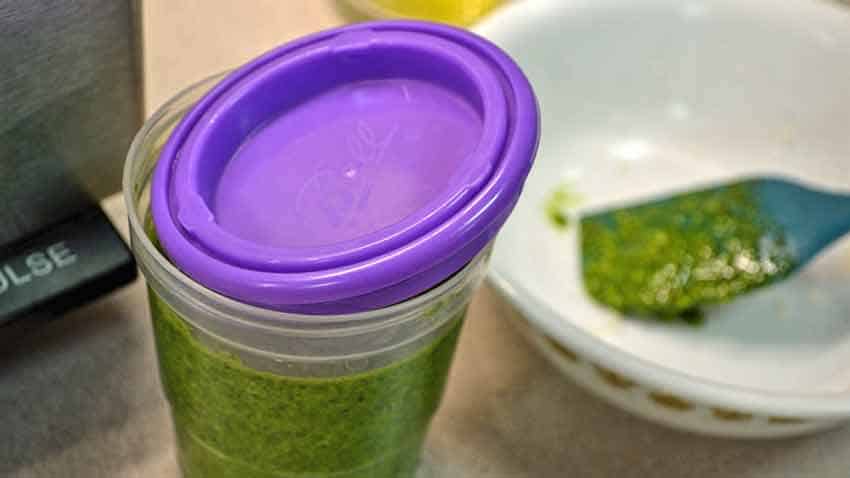
Fresh basil is one of the few herbs that freeze fine with very little, if any, loss in flavor or aroma. We always try to make extra to freeze some for the winter – reminding us of the incredible flavors of summer. If you really want to freeze a lot, plant 10 basil plants, and you’ll feel like you’re farming basil!
You will be able to get at least two cuttings and very possibly three in one season. With our 10 plants, we were able to put up about 18 freezer jars of fresh pesto, and that doesn’t include eating at least six more. The freezer jars are just big enough for one meal, so there is no waste, and you don’t wind up with soggy pesto in the fridge a few days after thawing it out.

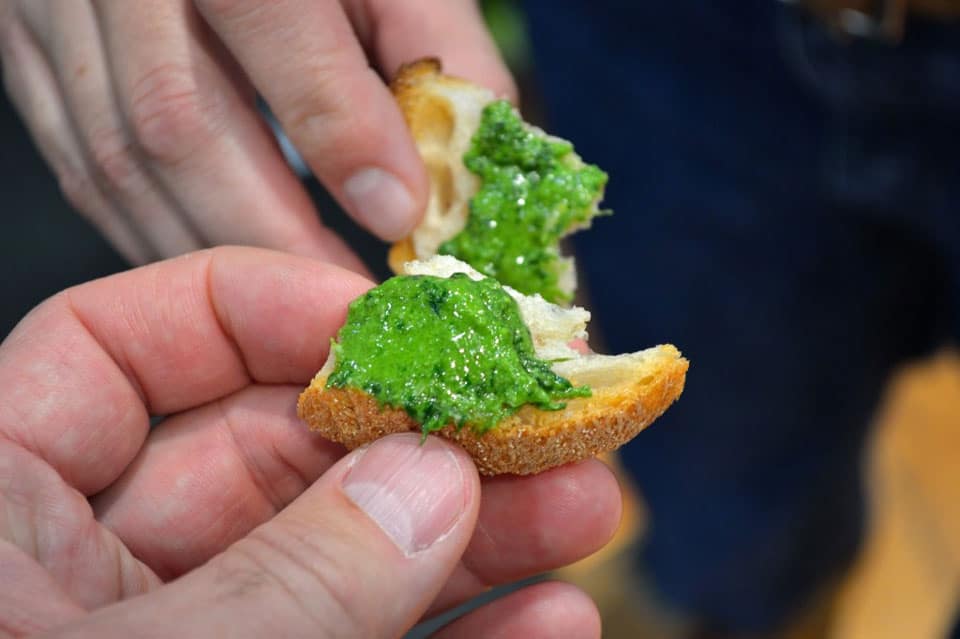
Here is the final product – a simple but delicious dinner just waiting to carry you away!
What do you think? Have you grown basil in a container like this, or do you grow it in a more traditional garden, or maybe inside? How else do you use fresh basil and pesto?
Here’s the full recipe –

- 3 cups fresh basil leaves
- 2 - 3 cloves garlic
- 1/2 cup Pine Nuts or other nuts
- Coarse Natural Sea Salt
- 2/3 cup Extra Virgin Olive Oil
- 1/2 cup freshly grated Parmigiano-Reggiano freshly grated Pecorino Romano or other aged, hard grating cheese
-
Harvest the basil by trimming the stalks about three inches above the soil to allow the plant to regrow.
-
Pull the leaves off, put them in a colander and rinse well. Allow to sit for a couple of minutes to drain well.
-
Add the basil leaves, the the garlic, pine nuts and a pinch of sea salt. Add 1/2 cup of the olive oil. Pulse the processor quickly several times to chop the leaves and start the processing.
-
After the bulk has started to drop in the bowl, pulse the blades for a longer time - about 30 seconds each until a rough consistency has formed. You might need to pulse the blades two or three times.
-
Check the consistency of the pesto paste at this point. If it is a bit too dry, add half of the remaining olive oil and pulse a couple of times for about 15 - 20 seconds each time, then re-check the consistency. It is easy to add a bit more oil, but you can't take it out!
-
Add the grated cheese when the pesto has a rough chopped consistency and pulse for 30 - 45 seconds, stopping each time to scrape the bowl down and examine the developing pesto. If the paste is a little too thick or dry for your liking or use, add a bit more oil and pulse, then check it again.
-
The pesto is ready when it has a bright green, smooth consistency. When that is achieved, stop.
To avoid spoiling the pesto flavor by the food processor, take care to minimize the heat produced by the blade. Some suggest chilling the blade and bowl assembly in the freezer before starting and monitor the amount of time the pesto is being processed, but it doesn't take that long to make a batch, and we haven't tasted a noticeable difference with not freezing the blade and bowl.
Using cheese fresh from the refrigerator helps control any heat as well.


Leave a Reply
Want to join the discussion?Feel free to contribute!