Stopping Bermuda Grass in the Garden
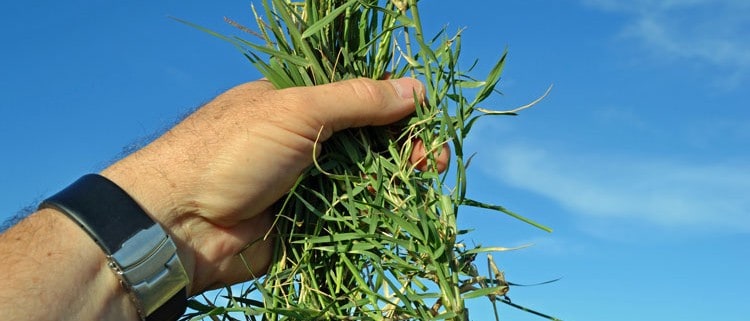
Bermuda grass: love it or hate it – most people fall into one of the two camps; there doesn’t seem to be much in-between. Personally, I think it’s a well-adapted grass for our harsh, dry Western climates. It loves heat, is remarkably wear resistant to foot traffic and is one of the most drought tolerant turf grasses around. It’s great for areas that need turf, for erosion control and for feeding to horses, but it’s an invasive alien weed in the garden. That’s where we have a problem.
We’ve dealt with a slow Bermuda grass invasion over the past few years as it spread from the walkway between our greenhouse and garden into the garden itself. At first it wasn’t such a pain because it colonized the wood chipped walkways and area where the picnic table is. Then it headed toward our smaller raised beds, completely taking over one and entangling the drip system where it entered the raised beds in 3 others.
We’ve tried a number of approaches to curbing it’s enthusiasm – burning the above ground grass and runners (properly known as stolons) both during and after the growing season, spraying a strong vinegar solution to the green grass phase and digging up the clumps and removing them. Nothing has really worked very well or for very long. Burning is highly satisfying, but did nothing about the rhizomes underground or the seed bank in the soil. After a season of targeted burning, the grass came back just as thick and lush the next spring. The vinegar sprays punched the Bermuda grass in the nose for a while, killing off or wilting the above ground growth but the rhizomes just sprouted up within a few weeks several inches away from where it was sprayed.
Persistent petrochemical herbicides such as Roundup are out of the question for a few reasons. One, we are working in our food producing garden and fully realize that whatever is put into the ground will wind up in the vegetables that are eaten. Two, we are a company that works hard to educate about the overuse and over-dependence on what has been called “rescue chemistry”, so it’s just a non-starter.
So what can be done? As is usual with us, we realized that understanding more about this grass than just how to kill it would probably lead us to answers of how to work with it better. After all, as gardeners we are forever working to get the plants we want to grow in a certain area, all the while trying to discourage other plants that we don’t want in the same areas!
It turns out that Bermuda grass isn’t originally from Bermuda; it’s from Africa and was introduced around the mid-1750s. It is thought to have hitched a ride in hay and introduced into the southern states initially. It spread from there and today it is most commonly found in the southern and southwestern United States. Bermuda grass was used almost exclusively as forage for animals for over a hundred years, sometimes becoming a lawn grass by default in places where other grasses could not survive the hot summers well. It wasn’t until the early 1900s that it became recognized as a valuable golf turf grass, starting a second life. Several resources list it growing below 3,000 feet in elevation; our garden in central Arizona is right around 5,000 feet so that doesn’t seem quite correct.
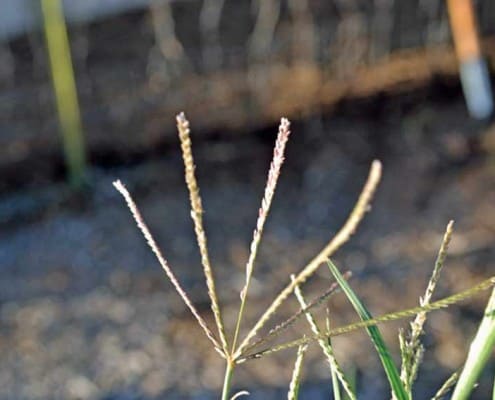
Bermuda grass is sometimes confused with crab grass. Bermuda grass has a deeper root system and crab grass has no stolons or rhizomes to deal with.
In undisturbed soil, Bermuda grass will only drive its roots about 6 inches deep. However, they can go significantly deeper in sandy soil, deeply tilled fields or garden beds, or where the roots meet a solid barrier such as a sidewalk, concrete foundation or walls. This is why driving a solid edging into the soil deeper than about 8 inches has been shown to be effective in stopping the spread of a patch into a garden or surrounding area.
Unfortunately, controlling Bermuda grass with nutrient management or pH management just doesn’t work very well; unlike morning glory or bindweed or a number of other weed species.
The two approaches that have proven to work are drying/desiccating the top 6 inches of the soil to get both the above ground stolons and the underground rhizomes and roots, and excluding light. The one real weakness of Bermuda grass is that it simply won’t grow in the absence of light. Then again, most plants don’t!
There are some folks that have had success with digging or scraping the top layer of soil away, then replacing it with rich topsoil and compost that you are sure has no Bermuda grass seed, stolons or rhizomes. For every success story using this approach, we’ve heard of a dozen others that have seen a re-infestation after some period of time.
The problem with our garden situation is that we don’t have ready access to high quality topsoil that has no Bermuda grass in it. This is part of how we wound up with our current experiment – we brought in topsoil from a neighbor’s property to help fill in and got an unexpected bonus.
Using a thick clear sheet of plastic on top of the ground and excluding any moisture during the growing season has shown to work well, if the area can be isolated with no roots or stolons escaping the area being treated. This approach works especially well if you live in a sunny and warm to hot area during the summer, as a cool and damp summer will do little to stop the grass from growing. If there is escapement, the roots or stolons simply bring in moisture and nutrients and the grass suffers but does not die. Because of the grass intrusion into the garden and under the fence, we can’t use this option.
That leaves us with the shade option, so we are going to do it right. The first step is to take the wood chips out and scrape what we can down to the soil, removing what clumps of grass are possible. We burned the remaining grass, in order to reduce its energy reserves.
Then we installed a double layer of cardboard for two reasons – it helps to shade the ground and will decompose over time, increasing the chances of rotting the remaining Bermuda grass.
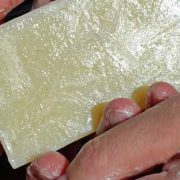
Over that we installed a thick and very dense weed barrier cloth from A.M. Leonard, a horticultural tool and supply company. You don’t need to be a business to order from them and their products are commercial quality. It is 20 mils thick, has a 98.7% opaqueness to light, won’t rot or mildew, will allow water to pass through and has a 5 year warranty, so should last for plenty of time for the Bermuda grass to rot. This photo is with the full, bright afternoon sun behind the cloth, to show just how much light is stopped. I actually had to lighten the photo up a bit!
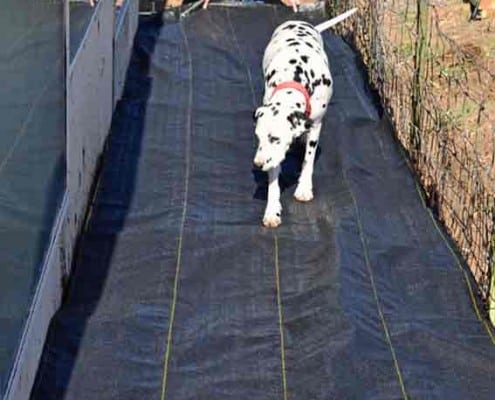
Installation was easy – we simply rolled it out with our resident Dalmatian expert – Aurora – supervising…
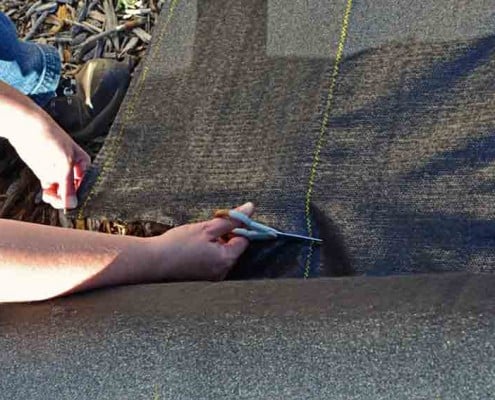
…then trimmed it to length with scissors.
To finish things off we put 4 – 5 inches of wood chips on top of the weed barrier to further shade everything and discourage any other weeds from making their homes in the wood chips. With this approach, there should be no way that light will get to the grass or soil and as the cardboard rots it will start a layer of decomposition that will include the remaining grass seeds, stolons, rhizomes and roots. This very well might take a year or more with our moisture levels, but that is why we went to the lengths we did to ensure that light can’t get down to the grass and short circuit our project.
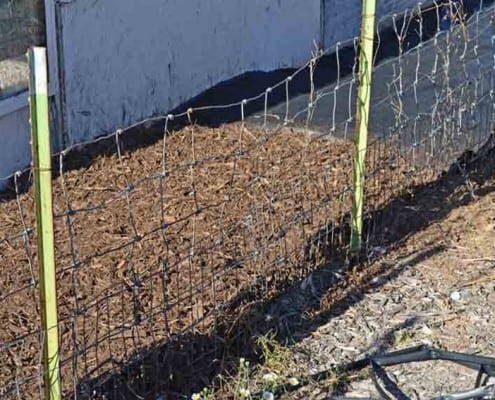
Here is the completed view, with the double layer of cardboard, weed barrier cloth and thick layer of wood chips installed.
We will post updates as they happen to this project. In the meantime, we would love to hear of your success or challenges with dealing with Bermuda grass in your own garden!









Leave a Reply
Want to join the discussion?Feel free to contribute!