 2018 Terroir Seeds | Underwood Gardens
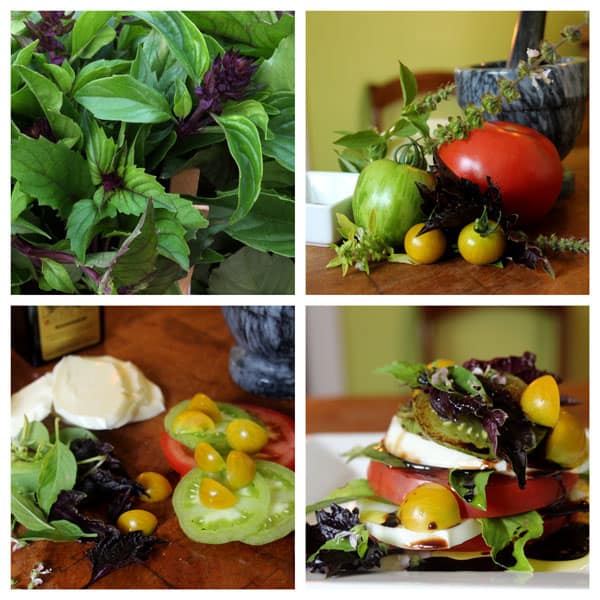
Sun-Dried Tomatoes are Firecrackers of Flavor
Sun-dried tomatoes are amazing. Just cracking open a jar perfumes the room with their unmistakably rich fragrance, making the dead of winter smell like the peak of late summer. They wake up many dishes with their explosion of intensely sweet and tart flavors. Preserving them uses the simplest techniques with only two ingredients, and they last an extremely long time without needing refrigeration. There is no easier way to capture and intensify their flavor and aroma.
You may not have experienced the full flavors if you’ve only tasted the store-bought offerings unless they were imported from Italy.
To understand the rise and fall of sun-dried tomatoes in America, read “What Ever Happened to Sun-Dried Tomatoes?”, then come back here.
Did you catch the part where commercial tomato growers jumped into the game once sun-dried tomatoes were popular? Using commodity tomatoes that were bred for uniform shape and tolerance to shipping (that’s actually one of the breeding characteristics!) simply ruined the market, due to their utter lack of flavor.
That’s not to say there isn’t a place for sun-dried tomatoes in your kitchen today – there is, and they are still just as delicious as you remember – maybe even more so if they come out of your garden!
If you’ve got a lot of tomatoes on the way, preserving them by sun drying or dehydrating and storing in olive oil allows you to put up 50 lbs. of tomatoes into a couple of jars with little work.
Let’s walk through just how easy and simple it really is!
Making Sun-Dried Tomatoes

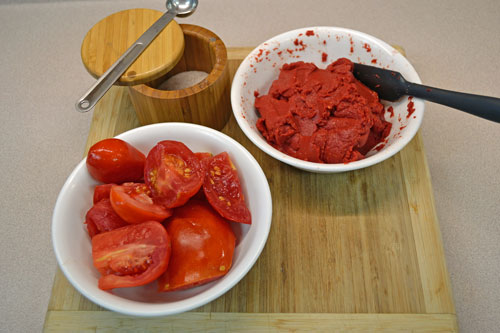
Sliced Fresh San Marzano Tomatoes
The best tomatoes for sun drying are the best-tasting ones – grown in rich, fertile soil giving them the sweetest, most complex flavors. Paste tomatoes are traditionally used just for this reason – they have a sweeter taste that is intensified by the drying process, giving them their signature complex sweet/tart flavors.
Be careful, though – Italians use San Marzano tomatoes almost exclusively because they are sweet to begin with, unlike the Roma tomatoes used by the American tomato paste market, which are more acidic and take on bitter overtones once dried. The larger San Marzano Redorta tomato works very well also.
Remember – starting with the best quality means you’ll wind up with the best flavors!
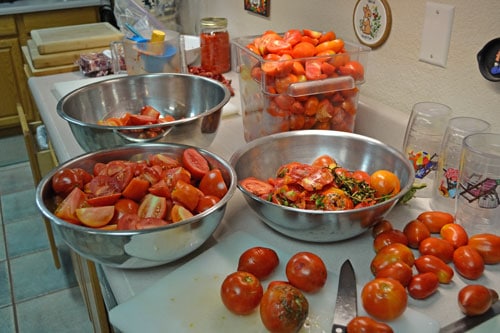
Pick fully ripe, almost soft tomatoes then wash, de-stem and slice them, removing any bad spots. Fully ripe fruit have a richer, more fully developed flavor to start with.
Arrange them on a flat surface like a dehydrator sheet or a cookie sheet lined with parchment paper. They can be slightly touching but you want to keep good airflow between the tomato halves.
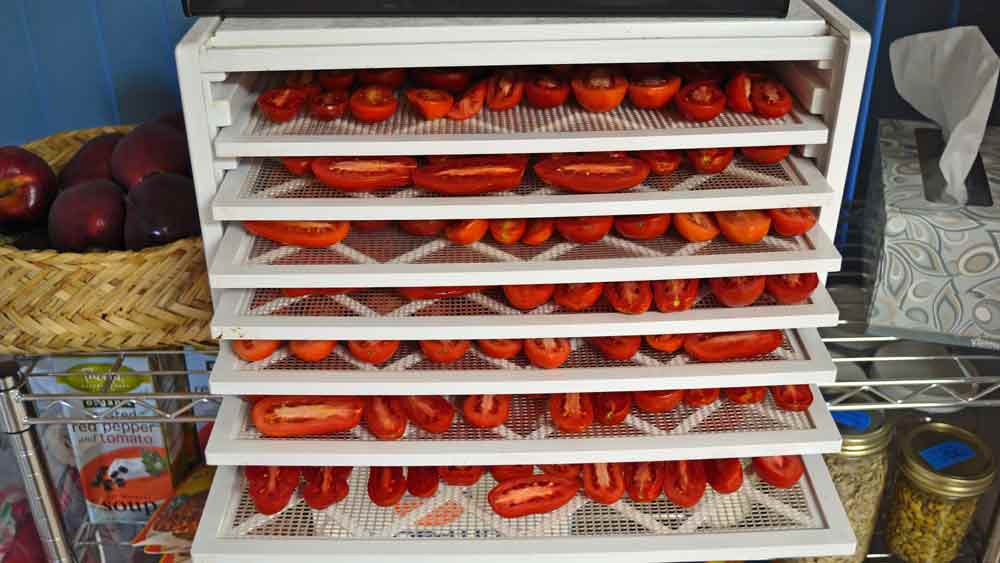
Drying the tomatoes
The original sun-dried tomatoes were just that – dried in the sun on rooftops then threaded on garlands or preserved in olive oil for the next season to add flavor to dishes when there were very few fresh vegetables available.
Most gardeners don’t have the space to spread out dozens of trays to sun-dry their tomatoes, so we improvise. A dehydrator works wonders, drying 30 lbs. or more of fresh tomatoes in a batch. We use an Excalibur that we’ve had for almost 20 years – set the temperature to 80-90°F, turn the fan on and check on the progress every few hours. The low temperature allows for a more even drying and doesn’t cook the fruit, leaving you with funky flavors. It’s a slow process so you don’t have to babysit. A full load usually takes overnight and we stop it when the tomatoes are leathery but still pliable and not crisp.

Sun-dried tomatoes ready for use
This is how much the tomato slices shrink in drying, and how 30 lbs. of fresh paste tomatoes can fit into a few jars.
Once they are dried to your liking, simply gather them up and determine what size and how many jars you need. They make exceptional, incredibly thoughtful gifts for the gourmand or serious cook in your life, so we decided to make up a few half-pint jars for gifts and half-gallons for our own use.
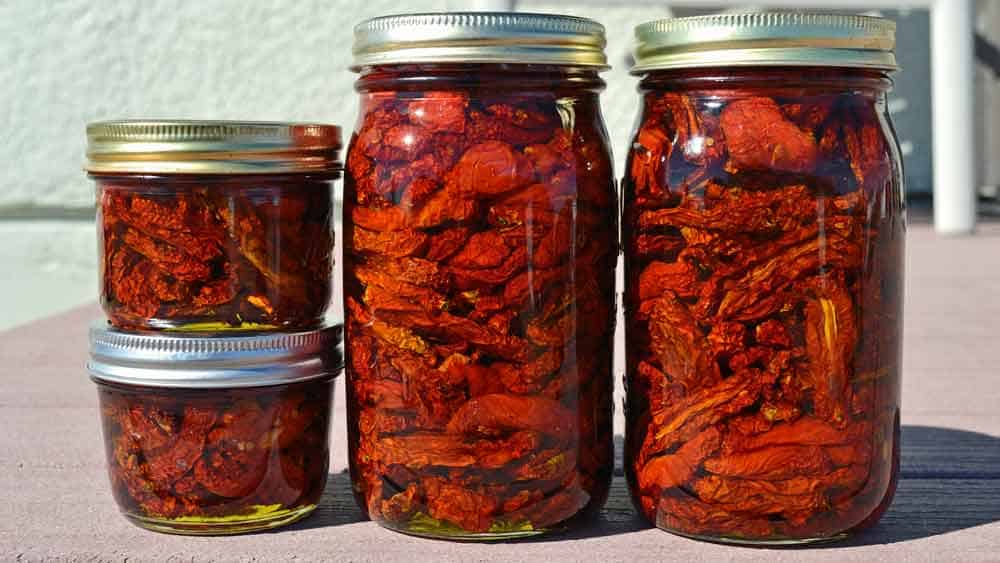
Sun-dried tomatoes packed in olive oil
Pack them tightly into clean jars and add olive oil to fill, making sure to completely submerge the tomatoes, screw the lid on tight and you’re done! Use the best quality olive oil you can source – organic is preferable, as it becomes a component of the flavors you are working to preserve.
Fresh sun-dried tomatoes are beautiful and delicious in their own right, ready to enjoy in a myriad of dishes from bruschetta and simple fresh pasta dishes to brightening hummus and cream cheese spreads to showcasing their delightful flavors in simple scrambled eggs in the morning.
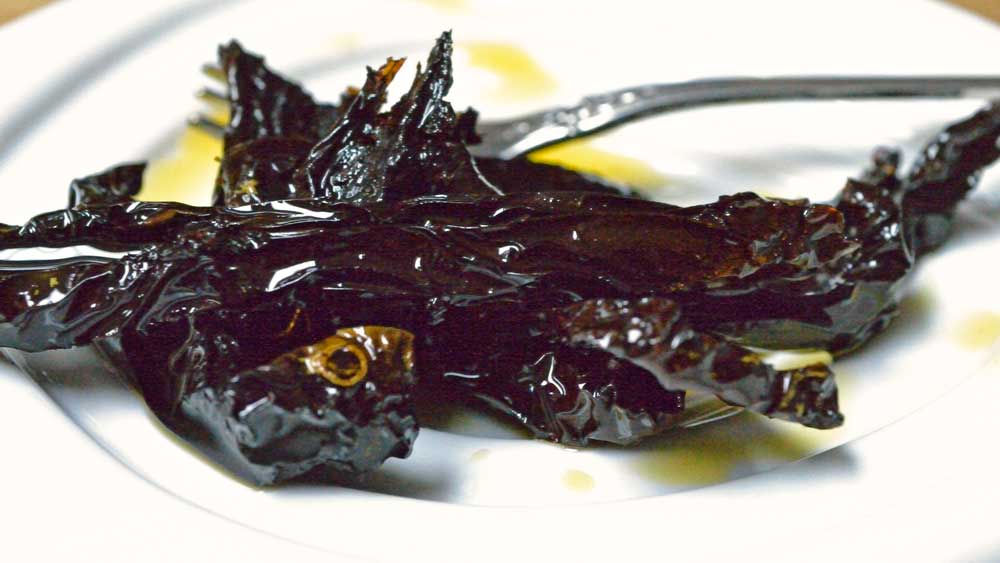
Aged Sun-Dried Tomatoes
Sun-dried tomatoes keep a long time, much longer than you might expect. They go through a process similar to aging balsamic vinegar or wine, becoming richer, deeper, and more complex in their flavor profiles while gaining a surprising aromatic intensity. Being submerged in olive oil seals them off from the air and allows them to mature and age.
We discovered a hidden half-pint recently that was – let’s just say a few years old – in perfectly good shape and delicious. On opening the jar for the first time, the room was immediately filled with the intense, rich scent of aged tomatoes. It’s difficult to describe, but we were immediately hungry for something – anything – with those sun-dried tomatoes in it!
After tasting the aged sun-dried tomatoes, we will be putting up a jar or two strictly for aging each season from now on!