Potting soils come in all shapes and sizes, with most touting some form of “Organic & Natural” on the bag – but are they really certified organic? Do those potting soils really work as advertised and contain healthy, wholesome ingredients to help your precious seedlings get that critical head start they need?
To answer these questions and more, we bought a few bags of potting soils from our local sources, brought them home and opened them up to take a close look at what is there. We looked at the bag and labeling, seeing what is being sold and why, what wording and marketing is being used and if they stood up to closer scrutiny. One of those potting soils we have used for a few years, so we let you know of our past experiences.
Please note – this article is in no way meant to be a comprehensive, exhaustive laboratory research and review of all potting soils available to the average home gardener. There’s just no way for us to do that, as many are only regionally available and the ingredients change from region to region in the bigger brands.
As with our seed starting mixes article, we suspect there are a few companies producing potting soils for different markets with unique branding and bagging for each channel. We saw this with one product – one bag design and color set for the big box stores and another one for the smaller independent garden centers. This only underscores the need to read the labels, know what the descriptions, ingredients and marketing-speak mean and be able to decide for yourself if that particular bag will work for you and is worth the cost.
As with our seed starting mixes analysis, we found confusing and sometimes misleading labeling.
What are potting soils and do I need to use one?
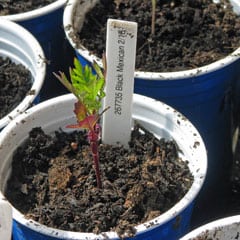
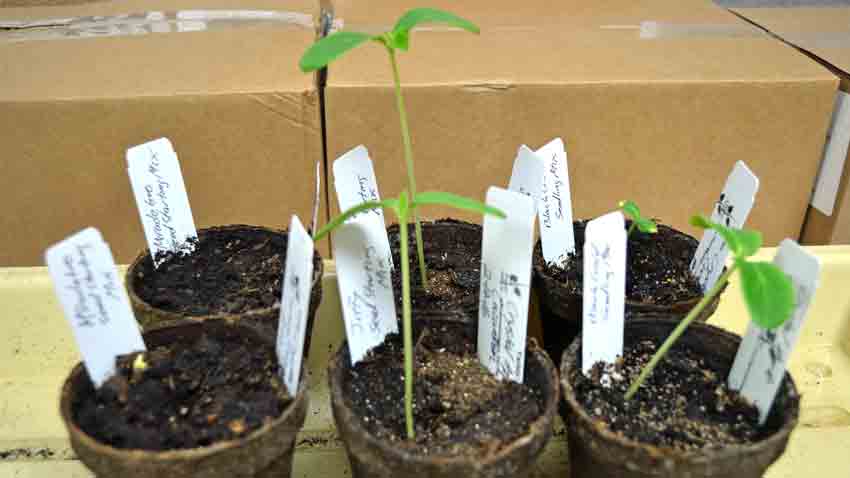
Potting soils are traditionally what seedlings are transplanted into from the seed starting mixes. The seed is germinated in the seed starting mix, then when it is 3 – 4 inches tall and starting to put on its second or third set of true leaves, it is transplanted into a potting soil. Potting soils have nutrients which are missing in the seed starting mixes, continuing the growth of the seedling by feeding and supporting the root structure it is starting to develop.
What goes into potting soils varies widely, from a basic seed starting mix with some aged compost added for plant nutrition to full custom blends with compost, soil and nutrients coming from different ingredients – all to supposedly help the seedling grow stronger and faster.
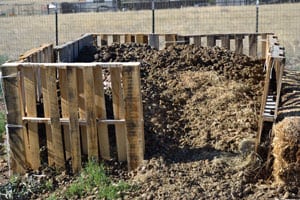
Not everyone needs potting soils, as some have the space and materials availability to create an excellent rich, aged compost to use as the starting point of mixing their own special blend, while others just don’t have the time, space or materials available to do that.
Let’s take a look!

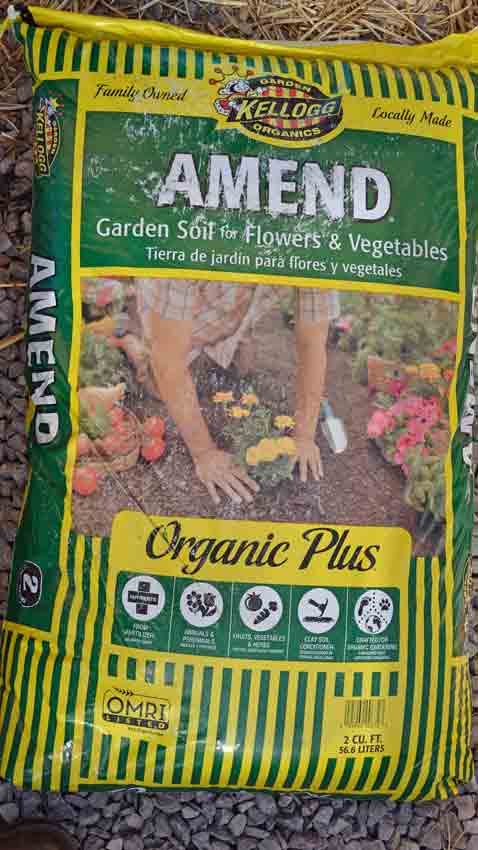
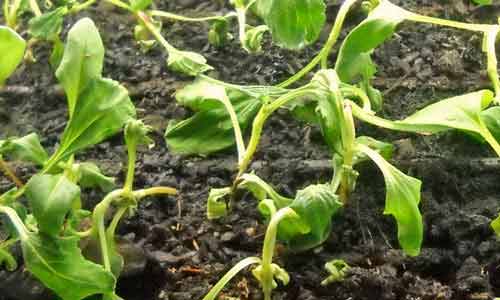
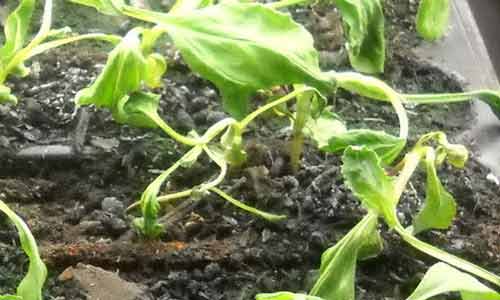
The first of the potting soils we found was the Kellogg Amend Organic Plus at Lowe’s and it’s available at Home Depot as well, so it should be available in most big box stores in the western US. We were interested to see what was in the bag and do some testing, as we’ve had several of our customers email us in alarm after transplanting into the Amend potting soils and within a few hours the seedlings were almost all dead or severely wilted. We found a commonality with most of them using the Kellogg Amend potting soils, but haven’t heard anything negative in the past couple of years.
As we mentioned in our seed starting mix article, we are not impressed with the words “Organic” or “Natural” on bags of soil, so seeing “Organic Plus” prominently splashed across the bag was an alert for us. It is branded as a garden soil for flowers and vegetables.
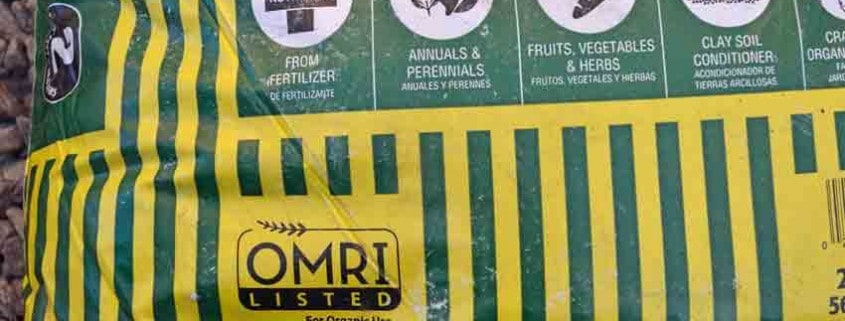
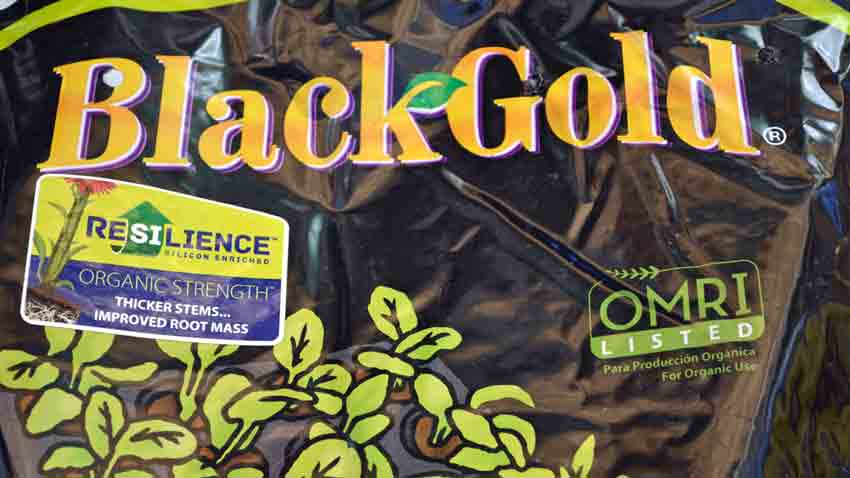
One label that did catch our eye and add to the intrigue was the OMRI listing on the bottom left of the bag. This indicates the contents are certified for organic food production, and are the equivalent of a “Certified Organic” label on food.
The OMRI label piqued our curiosity because our previous research as to why the Amend potting soils were killing seedlings led us to the fact that Kellogg had been using bio-solids, or treated municipal sewage, and possibly industrial runoff or wastewater. This easily explained why the seedlings died when transplanted into the potting soil.
So the question was – is this the same potting/garden soil, and if so, how is it OMRI listed?
In doing some reading, it appears Kellogg has used bio-solids or treated municipal sewage as a major ingredient in its composting program for a number of years. It seems that their OMRI listed products do not have any bio-solids as an ingredient in their products, but you can’t tell from the label.
In looking at the OMRI listing for Kellogg Amend garden soil, we found it is listed but with restrictions. OMRI lists it in the category of “Fertilizers, Blended with micronutrients” with the restriction being –
May be used only in cases where soil or plant nutrient deficiency for the synthetic micronutrients being applied is documented by soil or tissue testing.
Kellogg’s Amend product page has this to say about their OMRI listing –
Proven Organic
All of our products are listed by the Organic Materials Review Institute (OMRI), the leading non-profit, internationally recognized third party accredited by the USDA’s National Organic Program (NOP). That means every ingredient and every process that goes into making our products has been verified 100% compliant as organic, all the way to the original source. Look for the OMRI logo on the bag, ensuring every product is proven organic.
All in all, it is OMRI listed – even with the discrepancies between Kellogg’s product information and the OMRI listing itself with the restrictions.
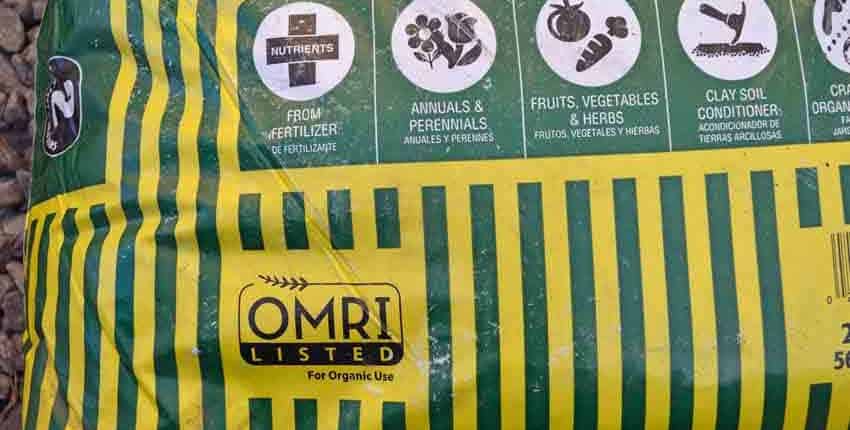
The OMRI listing is displayed in the lower left part of the bag, underneath the info box of what it is supposedly derived from and what it is good to use it for.
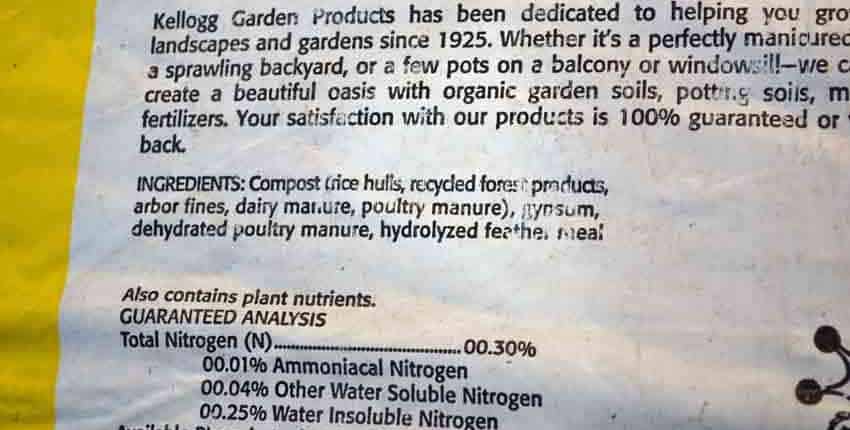
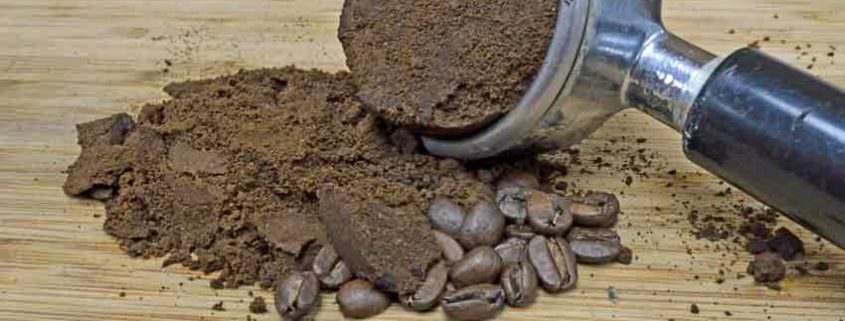
The ingredients list compost as the primary ingredient with what makes up the compost. Recycled forest products are typically a blend of finely ground wood from leftovers of the timber industry. Arbor fines are finely ground tree trimmings. Hydrolyzed feather meal is crushed and boiled poultry feathers, used as a source of nitrogen.
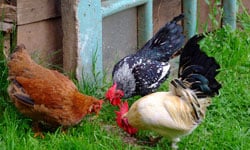
Dairy and poultry manure sound fine, until the source is looked at a little closer. What is the source of the dairy and the poultry manure? There is reasonable concern as to what is contained in the manure of animals from confined feeding operations – there are antibiotics and hormones used in the day to day operations which are passed through in their manure. Another concern is the possible presence of industrial herbicides and pesticides used in conventional grain production, which can easily be passed into the manure.
These are things to think about, especially if you want to grow as organically as possible.
One of our biggest initial concerns after getting it home and looking up both the Kellogg’s product listing page and the OMRI listing showing the restriction is there is no mention anywhere of the “synthetic micronutrients” from the OMRI listing on the bag or Kellogg’s website.
What are those synthetic micronutrients, and what is their source?
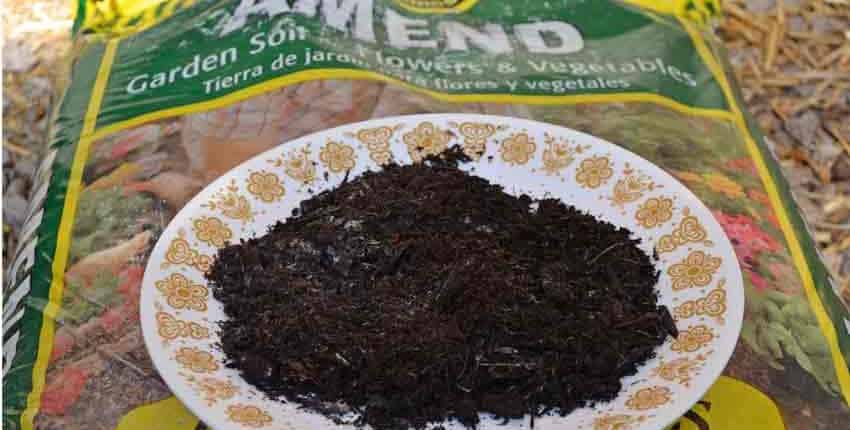
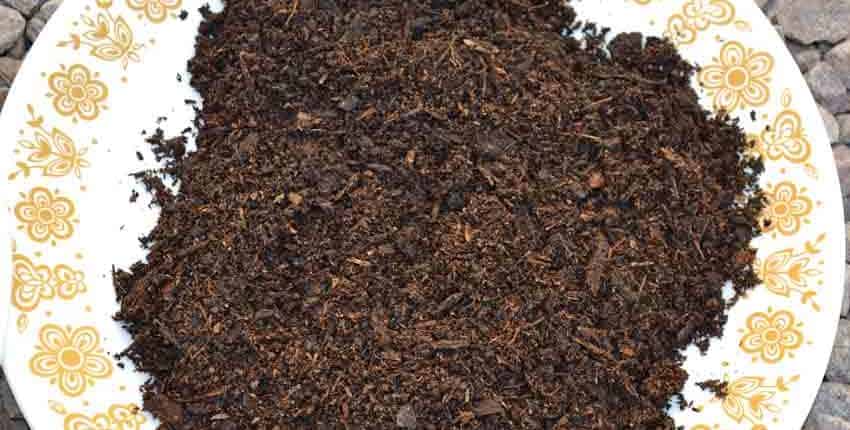
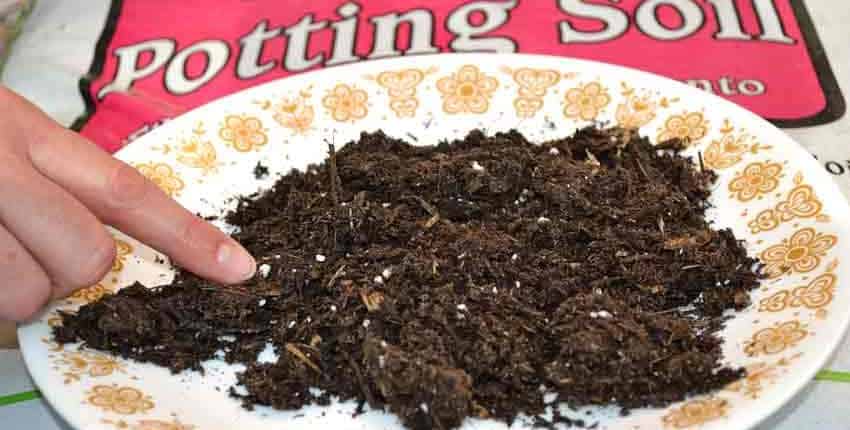
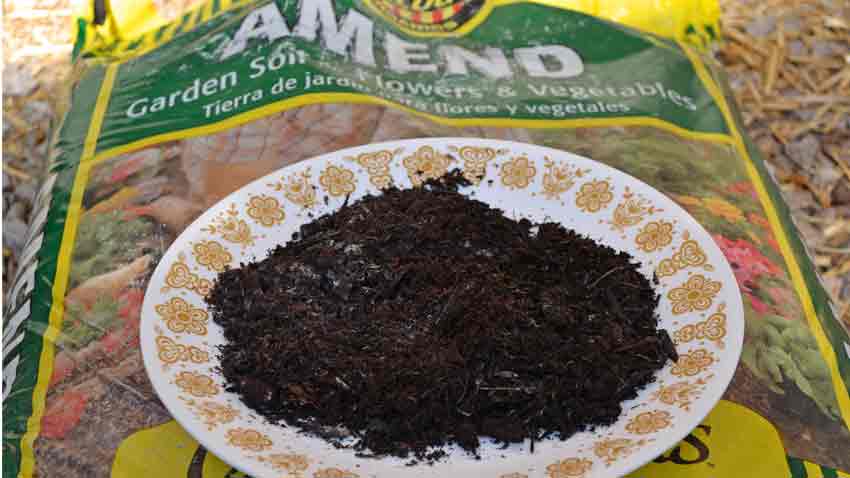
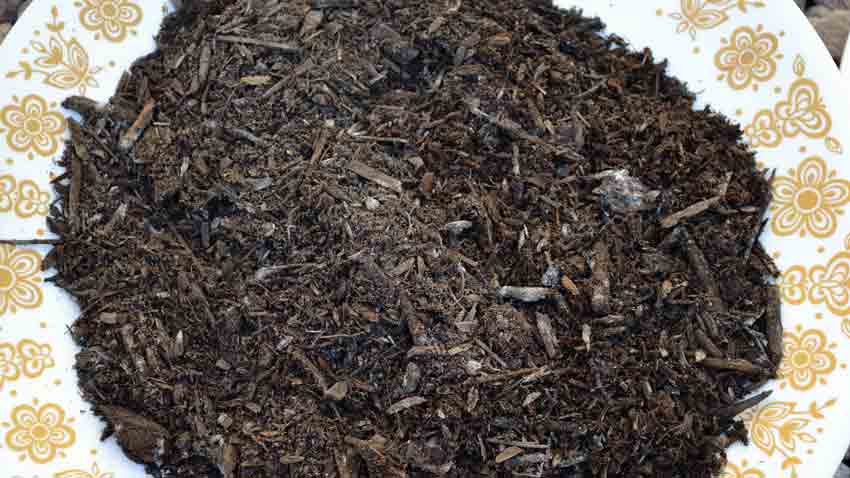
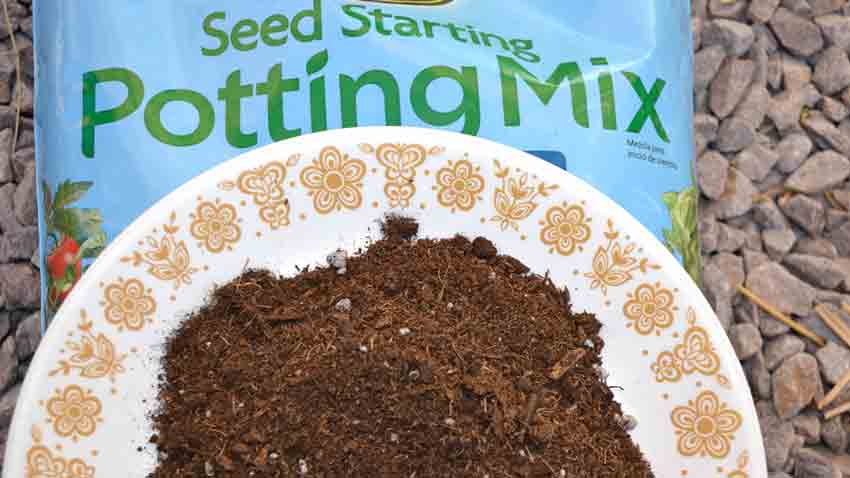
On opening the bag we noticed it was moist and had some white mold spots on the woody material in the mix. This is not a bad thing, molds and fungi work to break down wood into more available nutrients. Woody material helps to boost microbial activity to do just this.
The bag had a rich, woody aroma but did not smell of raw or partially decomposed manure. It was a dark, rich brown verging into almost black.
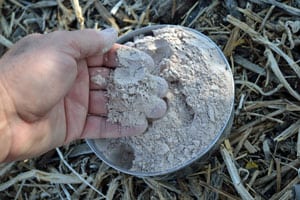
A handful of the soil felt light and porous with a slightly damp feeling to it. There was a trace of dark residue left on the fingers after rolling a handful through the fingers and getting a feeling for it.

On closer inspection, it is easy to see the woody residue of various sizes. Even though it is advertised as a soil, it was fairly light in texture without the more solid structure needed for long term growing of plants.
The white mold can be seen in the top right of the photo.
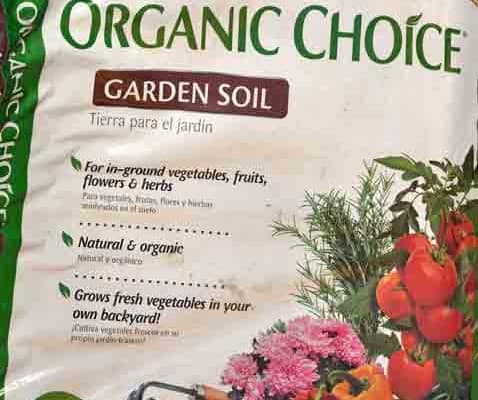
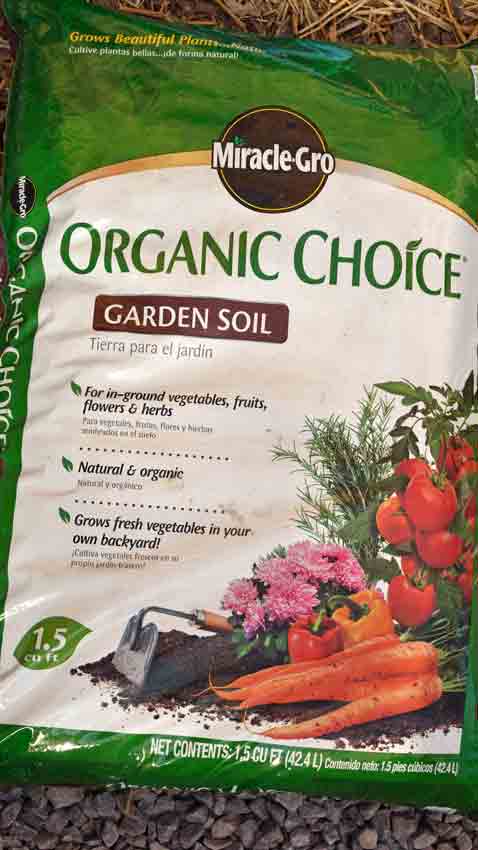
The next bag we opened was Miracle-Gro Organic Choice. We also picked this up at Lowe’s and have seen an impressive selection of Miracle-Gro products at Home Depot as well, so any big box store will have this line. We’ve also seen this brand at every garden center, hardware store garden aisle and landscaping supply store we’ve visited. It’s hard not to find them.
Again, the word “Organic” is used as a marketing tool in the word choice for the name. This is advertised for use with in-ground vegetables, fruits, flowers and herbs. It has the “Natural & Organic” term next, above a statement that it will grow fresh vegetables in your backyard.
So far, pretty standard stuff and not really any different than the next pile of bags at the big box store.
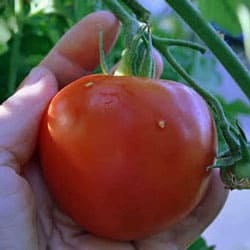
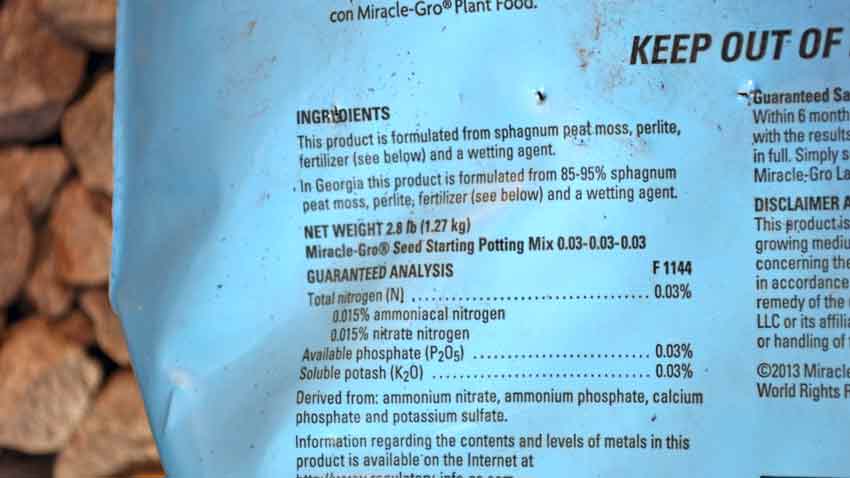
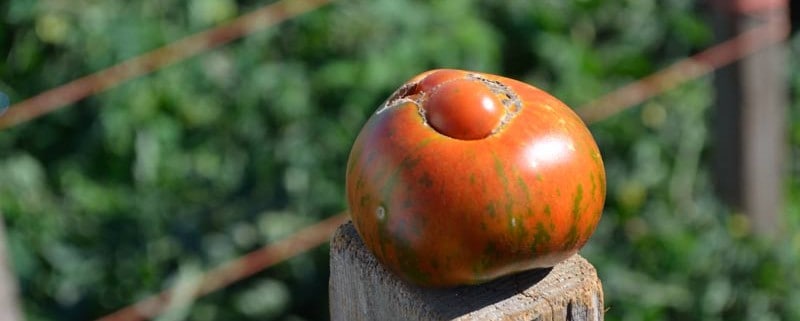
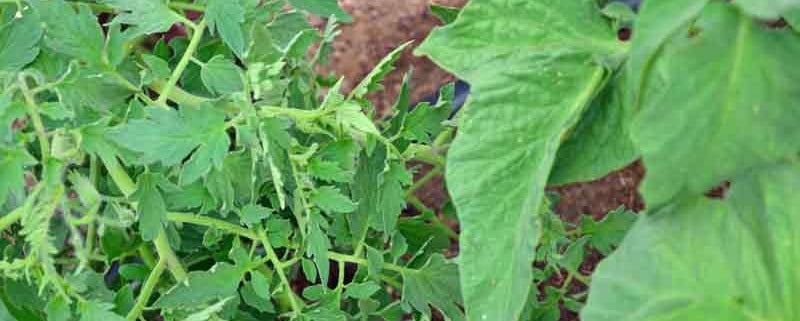
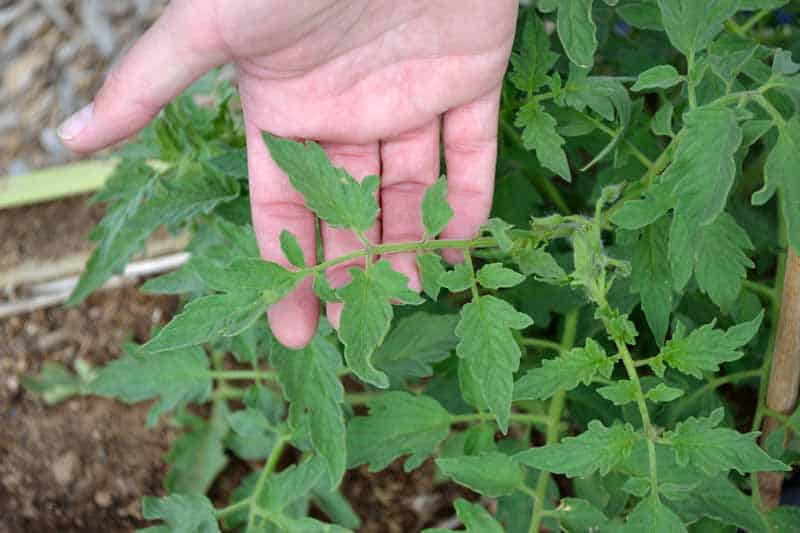
Our concern with this Miracle-Gro product is much the same as we mentioned in our Seed Starting Mix article -their blend of plant food emphasizes vegetative growth and strong flowering, without the nutrients for fruit or food production. We have seen numerous gardeners with tomato plants growing lush, dark green leaves and covered in flowers but not producing a single tomato, or very few.
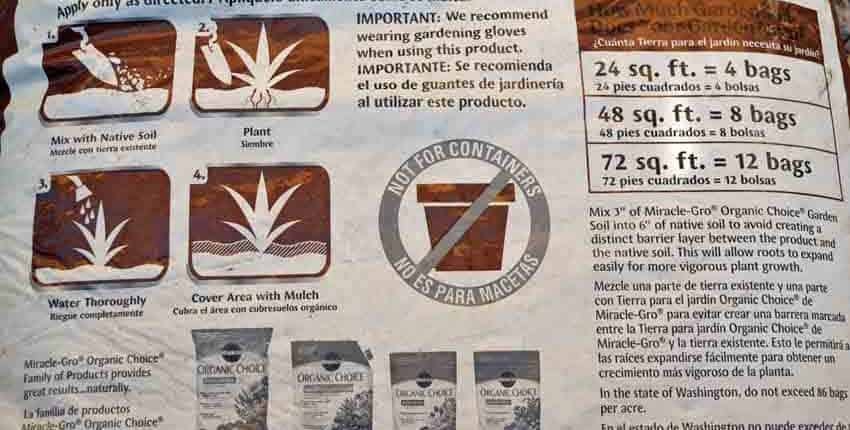
Looking at the back of the bag, we were surprised to see this product was not recommended for container gardening. It is also interesting to see the warning to wear gloves when using Organic Choice.
It’s labeled as “garden soil” on the front, but on the back the instructions say to mix 3″ of Organic Choice with 6″ of native soil, mix well to avoid a stratified layer, then plant. These instructions combined with the not for containers seems to indicate this is not a full potting soil and more of a soil amendment or fertilizer.

The ingredients listing says it is formulated with organic materials but doesn’t specify if “organic” means organic as in containing carbon, or organic as in certified organic.
It has much the same ingredients – forest products, compost, composted manure and pasteurized poultry litter. In addition it lists peat humus and sphagnum peat moss which are more commonly associated with seed starting mixes than potting soils.
The ingredients do vary regionally, which they do specify.
We searched the OMRI listing to see if this, or any, Miracle-Gro product was listed and found this is OMRI listed, along with several other products. This is somewhat surprising, as most other manufacturers proudly display the OMRI listing label. Another interesting detail is this has no restrictions, unlike Kellogg’s Amend. It is listed under fertilizer and soil amendments, which makes more sense of the instructions to mix with native soil.

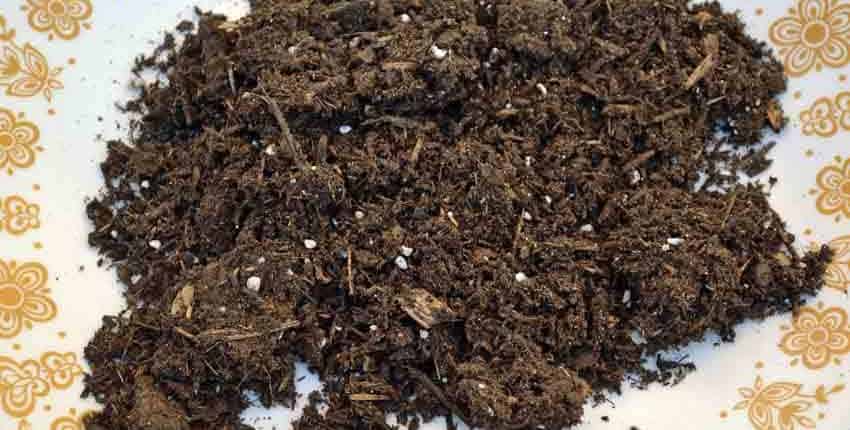
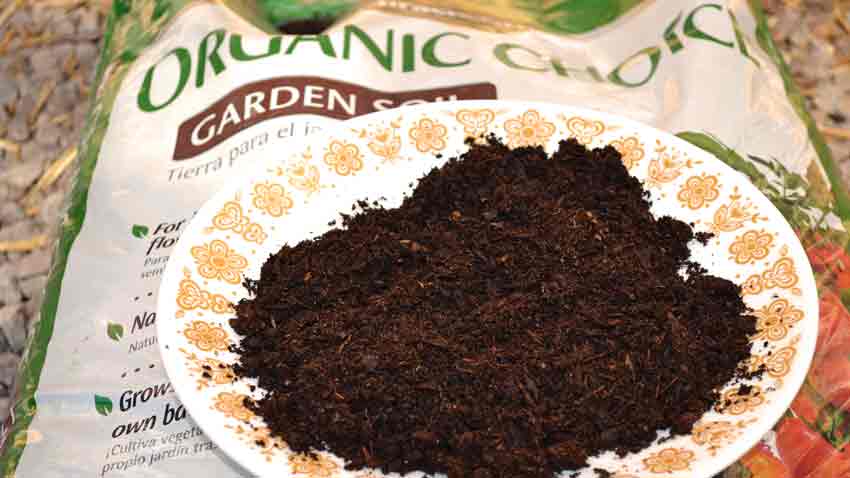
On opening the bag we noticed it was moist with a dark brown, rich earth color. There was woody material present, but seemed a bit more integrated and had an earthy, soil based aroma. There was no indication of partially composted manure or off odors.
It didn’t have any mold indication and a handful of the soil had more of a substance to the texture, while still being light and fluffy. There were smaller or finer components to the mixture. There was less of a dark residue on the fingers after handling a handful for inspection.
Closer inspection shows the more even distribution of size, along with the dark brown or earthy color. This seemed to be closer to a replacement soil but with enough lightness to allow good root development.

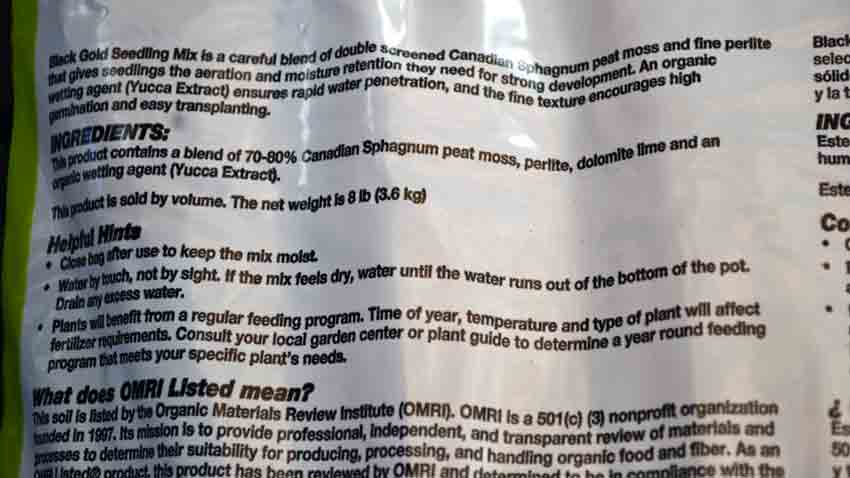
Square Foot Potting Soil
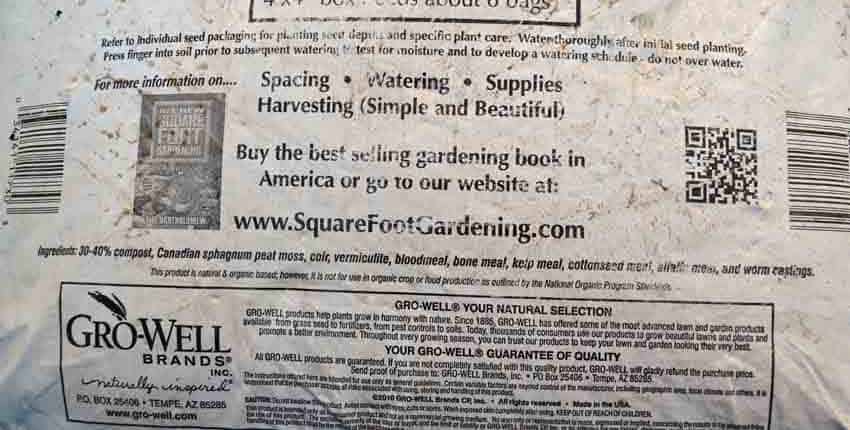
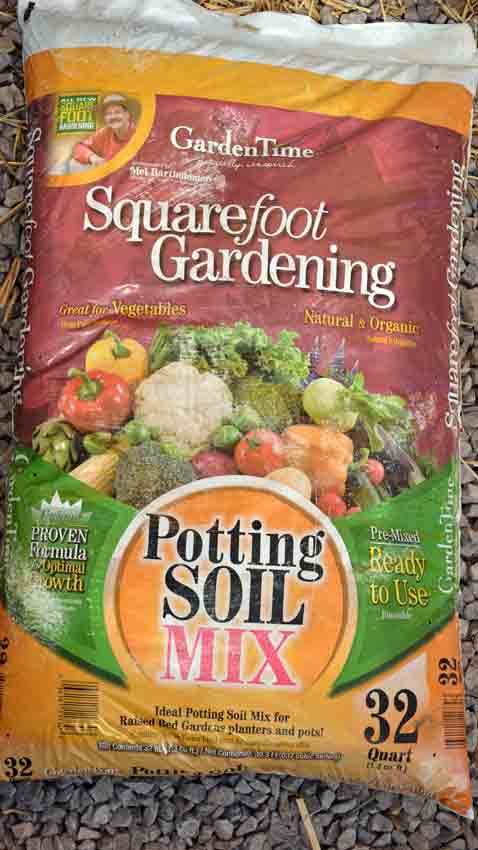
The next bag was Garden Time Square Foot Garden Soil from Gro-Well Brands. They are local to us, being based in Tempe, AZ. This was bought at Lowe’s and we’ve seen it at Home Depot also, and have seen garden forum threads where it is possible to special order it online in different quantities. We also saw it at our local True Value Hardware store in the garden aisle, with a different design bag – so it is probably also available in independent garden centers as well.
We have used this particular mix for a few years now with good results. We primarily use it as a seed starting mix and transplanting medium, but have experimented with it as a complete soil – like the bag’s labeling says – and have been pleased with the results.
Having said that, it isn’t perfect either and makes many of the same claims as the other brands. The “Natural & Organic” label is prominent on the bag, even though this is not OMRI listed. Some of the other claims are “Proven Formula for Optimum Growth” and “Great for Vegetables”. It does say “ready to use” and doesn’t need mixing with native soils, something that might be helpful for a container gardener with a small patio or apartment balcony.
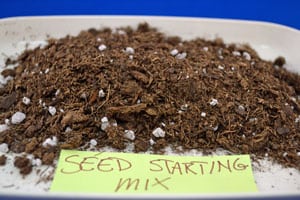
Square Foot Potting Soil Ingredients
The ingredients are compost, peat moss, coconut coir, vermiculite, bloodmeal, bone meal, kelp meal, cottonseed meal, alfalfa meal and worm castings. The peat moss, coir and vermiculite are classic seed starting mix ingredients, with the compost, different meals and worm castings adding nutrients to the soil for the plants growth and health. We use this as both a seed starting mix and potting soil or transplant soil because of the nutrients, which are lacking in straight seed starting mixes.
The same concern we voiced above at the vagueness of what is in the compost is valid here as well. In reading around a bit, I haven’t come across Gro-Well Brands using bio-solids in their compost, which is good news. On the other hand, that doesn’t mean the compost is organically sourced and not feedlot manure, but it’s a step in the right direction.
The more extensive list of ingredients give this some substance in nutrition so it can be used as a transplanting medium, a potting soil or as a complete standalone soil.
As another plus, we’ve not experienced seedlings dying when transplanted into this mix, nor have our customers said anything.
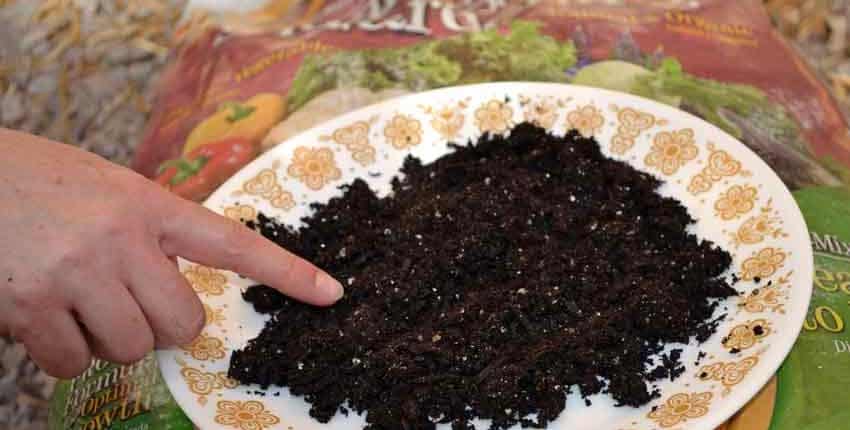
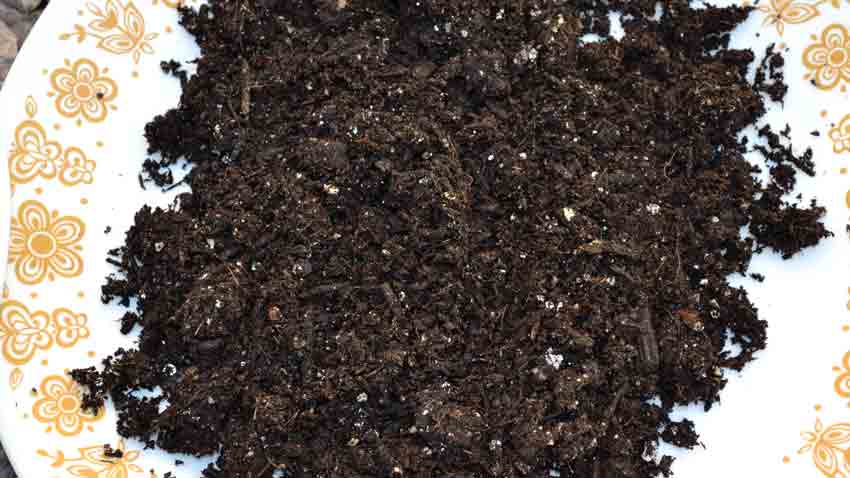
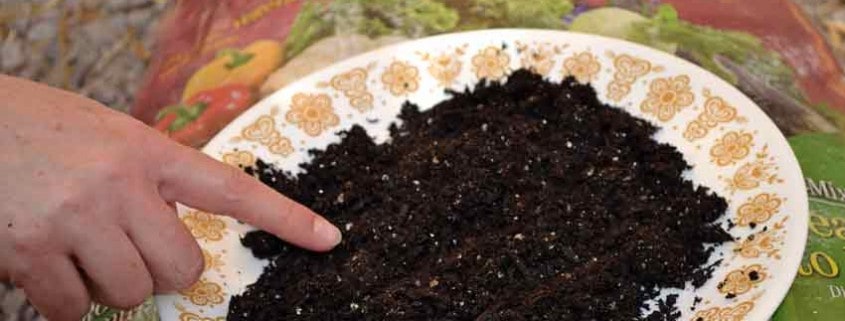
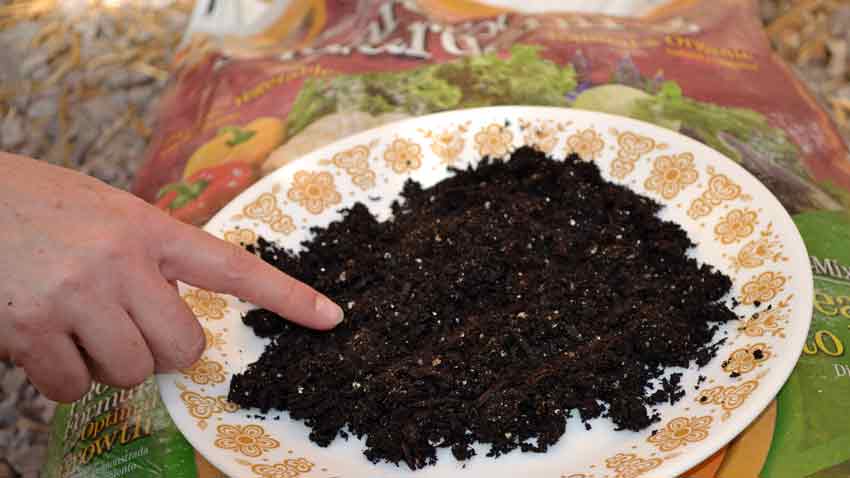
On opening the bag, the soil is slightly moist with a very dark, almost black color. It had almost no odor and felt light in weight but with some substance. This makes sense with the compost being 30 – 40% and much of the rest made up of lighter weight seed starting ingredients that have no odor of their own. The shiny vermiculite specks are easy to see and the texture is fairly even without lots of larger, identifiable chunks of wood.
A handful of the soil showed more of the smaller size particles making up the mix with an even and light feel to it. There was a trace of black residue on the fingers after a handful for inspection.

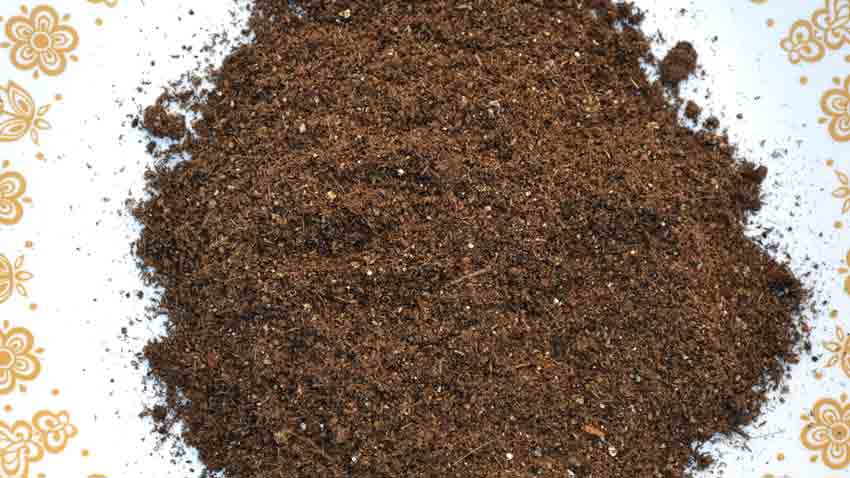
Square Foot Potting Soil
A closer inspection shows the darker color, with the specks of vermiculite showing through.
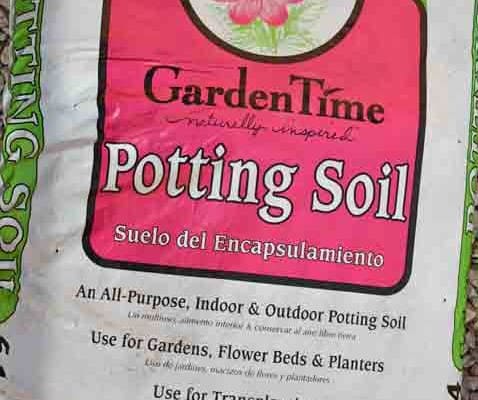
Garden Time Potting Soil
The last bag was also from Gro-Well Brands – Garden Time Potting Soil. This was also bought from Lowe’s, and is available in big box stores. It may be regionally available in independent garden centers with a different bag.
The same technique of word use – “Natural & Organic” was in play, but the other trigger words were missing. This is advertised as an all-purpose potting soil for indoor and outdoor use in containers and garden beds, as well as for transplanting.
Like the Square Foot Gardening soil, this is not OMRI listed.
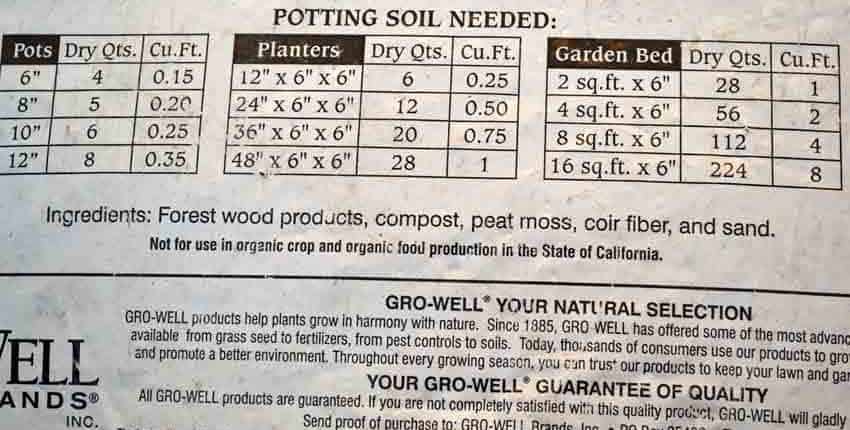
Garden Time Potting Soil Ingredients
The ingredients are different, with fewer of the seed starting ingredients and less of the nutrient amendments. It does have peat moss and coconut coir fiber, common in seed starting mixes, but is without the perlite and such.
The standard forest wood products are there, as well as the compost listing again. What we found interesting is the addition of sand as the last ingredient.
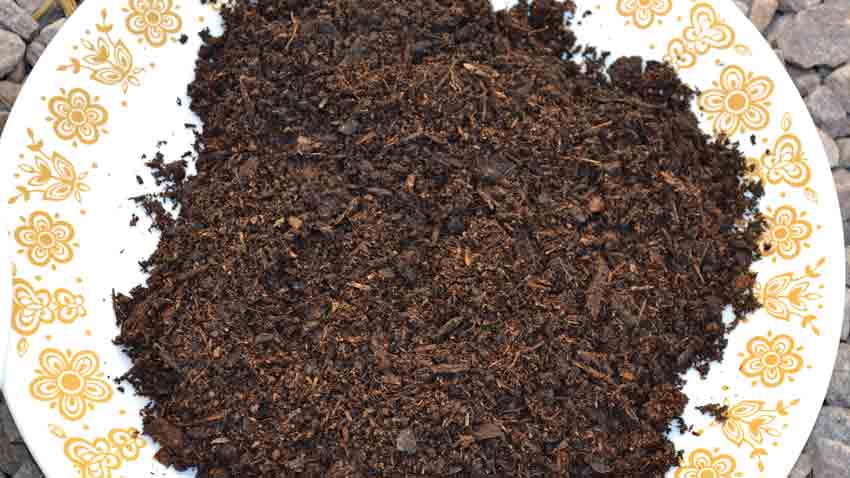
Garden Time Potting Soil Closeup
When opening the bag we noticed this mix had a more woody aroma and was less earthy. It was also the driest of the mixes, leaving almost no residue on the hand after sifting through a handful of mix. It wasn’t dry, just much less moist than the other mixes. It had more substance and weight to the mix, probably as a result of the sand. This mix looked, smelled and felt the woodiest of the ones we inspected. It had no odor of compost or manure at all, only slightly of decomposed wood.
One thing we immediately noticed with a handful of soil is the white specks in the mix. In looking closely at them, they look much like perlite even though there is none listed on the ingredients. This could be an older bag with a new mix formulation, or a mistake in adding perlite to this mix. The perlite isn’t a negative, but the fact it isn’t listed in the ingredients makes us wonder a bit.
Even with this, the mix looks like it would be good as an amendment to loosen up native soils. The overly woody composition would be beneficial as it decomposed more, but might not add much to this season’s growth.
Garden Time Potting Soil Closeup
A closer look shows the woody texture and color with the white specks of what looks to be perlite throughout.

Potting Soil Cost Chart
In looking at the related costs, a couple of things stand out. The two best-looking soil mixes are also the most expensive – Miracle-Gro and the Square Foot Gardening Soil. They are also the smallest size bags. When adding in the positive benefits of an OMRI listing, the Miracle-Gro becomes the initial winner – something that surprised us.
In making a recommendation, an OMRI listing helps to assure a home gardener that the materials and ingredients used are of better quality and higher nutrient content than a non-listed mix. With that said, we would not recommend avoiding mixes which aren’t listed if you can be sure the ingredients meet reasonable standards. For example, compost from a neighborhood friend’s horses won’t be able to be OMRI listed, but would probably be excellent compost if the horses are fed well and wholesomely. The same would go for a grass-fed farmer in your area, who doesn’t feed growth hormones or regular antibiotics.
From this list, our two choices are the Miracle-Gro Organic Choice Garden Soil and the Square Foot Gardening Soil, with the others being a distant second choice if the first two weren’t available. This is conditional upon our testing some seedlings in each of these to see if they can actually support healthy seedling growth, but that will be another article!
For you, the best choice depends on what is available in your area, the amount of potting soil needed and what you can afford. Some gardeners, like ourselves, much prefer to make our own compost with multiple amendments to create a complex and wonderfully fertile soil amendment, while others simply don’t have the space or availability of materials. Some better options include creating a composting system as part of a community garden, or partnering with a friend or neighbor who has the space and is willing to boost their garden’s fertility. You might offer to do the work in setting up and maintaining the compost in return for some of the finished product for your garden.
Now you’ve got an overview of what to look for and be aware of when shopping for potting mixes, what are your thoughts and experiences? Do you have a dependable “go-to” potting mix you’ve used and loved for years? Or, do you have a tried and true recipe for mixing up your own potting soil that has never let you down? Please share!


 © 2024 Terroir Seeds | Underwood Gardens


 © 2024 Terroir Seeds | Underwood Gardens